
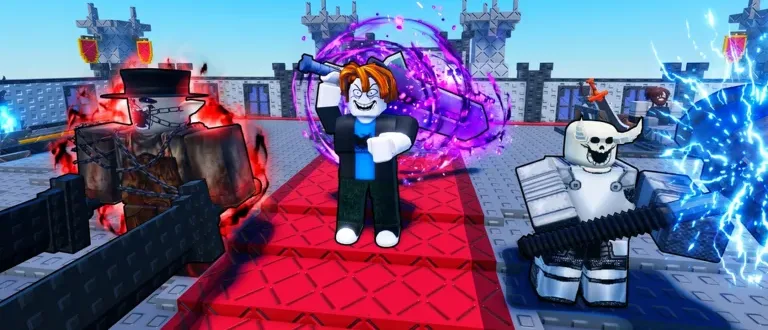
Army
Army — Population and Unit Damage are the growth engines. Each Population tier raises your slot cap (7 at II, 15 at IV), and more slots plus more damage is the biggest wave jump you can buy.
Every observed skill-tree node in Be The Final Boss, grouped by branch, with coin and Robux costs and effects where confirmed.
Last updated: 2026-09-19
Quick answer
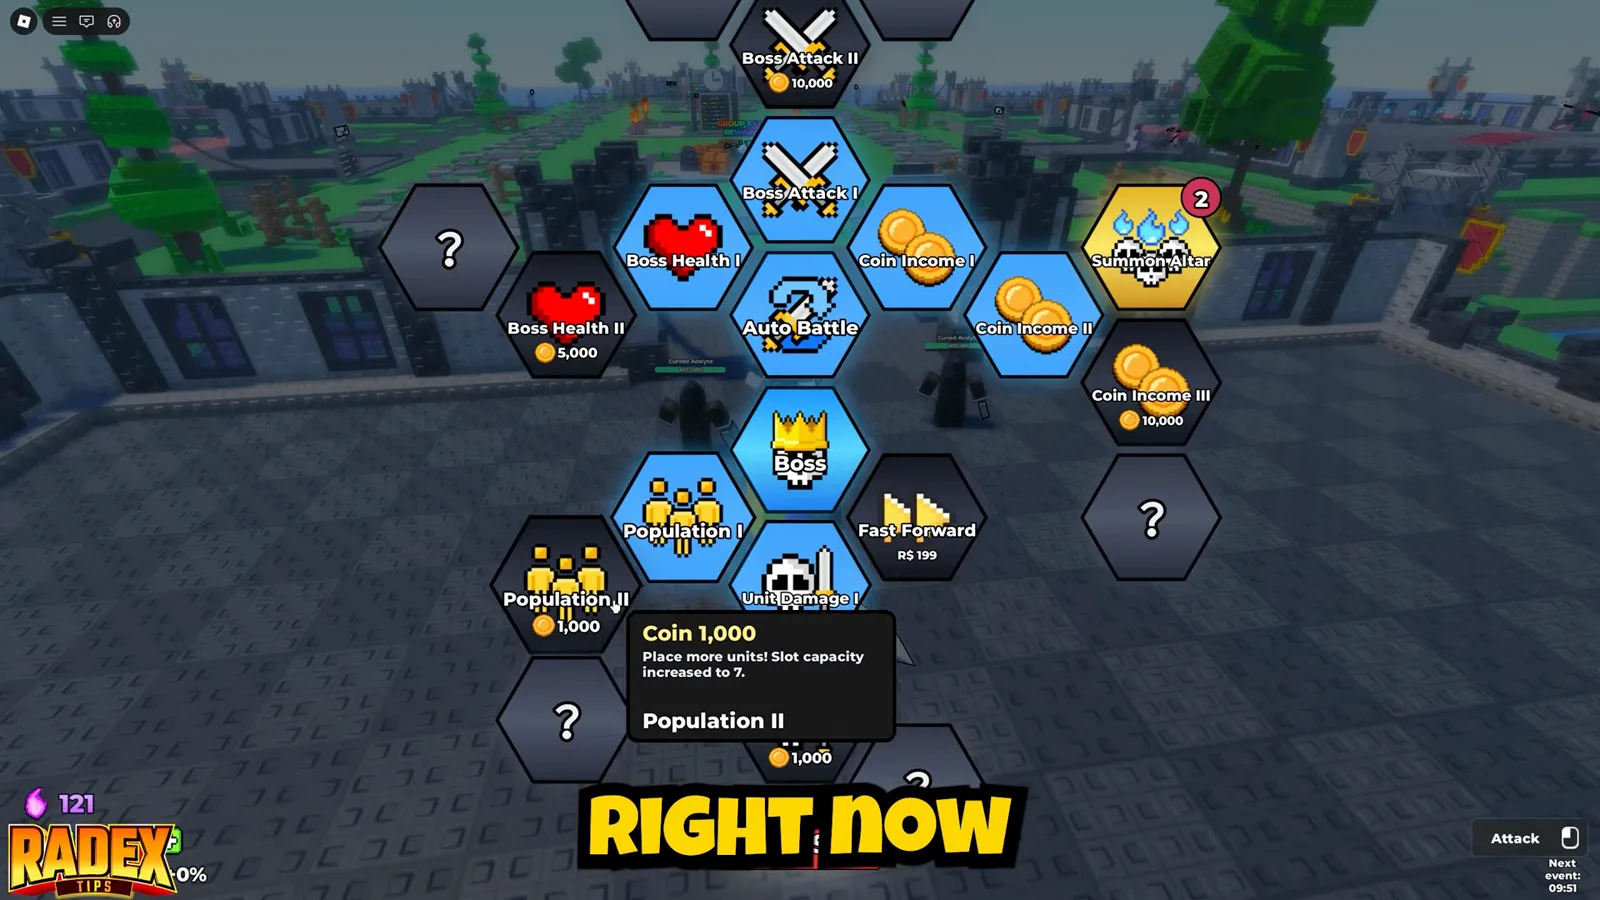
Buy the cheapest nodes first — Swing Speed I (50 Coins), Soul Harness I (100), Unit Damage I (200), Population I (300), Auto Battle (350) — then save 1,000 Coins for Population II, which raises your unit cap to 7 and is usually the biggest early wave jump.
An editorial route built from the observed node costs and the opening logic on our Guides page — verify each step against your own runs.
1. Early game (first ~2,000 Coins)
Cheap nodes compound fastest: Swing Speed I (50), Soul Harness I (100), Unit Damage I (200), Population I (300), then Auto Battle (350) so lost runs retry themselves. Close the phase with Boss Attack I and Boss Health I (500 each).
2. Mid game (1,000 – 50,000 Coins)
Population II (1,000) raises the slot cap to 7 — usually the single biggest wave jump. Then alternate Coin Income II–III with Unit Damage II–III, add Castle Buff I (5,000) and Boss Health II (5,000) once the frontline holds.
3. Late game (50,000+ Coins)
Population IV (50,000) unlocks 15 slots. From there, big Coin Income tiers (IV–VI) fund everything else; push Unit Damage IV–V and the Summon subtree (Summon Luck, Altar Slots) to chase mutated high-rarity units.
A fast-growth build prioritizes the branches that compound: Army slots and damage first, then Economy income to fund them, then Personal quality-of-life nodes. Spend on Castle and Summon branches once your core is online.
Army — Population and Unit Damage are the growth engines. Each Population tier raises your slot cap (7 at II, 15 at IV), and more slots plus more damage is the biggest wave jump you can buy.
Economy — Coin Income tiers pay for everything else. Coin Income III shows a total +20%; stack the higher tiers as they become affordable.
Personal — cheap damage and survival first: Swing Speed I (50), Boss Attack I and Boss Health I (500 each). Move Speed I (1,000) helps when fights get kiting-heavy.
Every node costs Coins — learn how to farm them fast. Get Coins fast guide →
Set a Coin budget, then tap nodes to build a route. Picking a tier auto-includes the observed lower tiers of the same family; only coin-priced nodes are simulated.
Army
Personal
Economy
Castle
Feature
Summon
Route totals
No nodes selected yet — start from your first failure point.
Costs come from footage reads and may lag the live version; totals shown are the highest observed tier's cumulative effect. Verify against the in-game tree before spending.
—
Place more units! Slot capacity increased to 7.
—
Place more units! Slot capacity increased to 15.
—
—
—
All of your units deal more damage. Total +5%.
—
—
—
—
—
—
Your sword hits harder. Total +5%.
—
—
Inherit 5% of deployed units' total HP.
Inherit 15% of deployed units' total HP.
—
Move faster while fighting. Total +10%.
Move faster while fighting. Total +20%.
Swing your weapon faster. Total +5%.
—
—
—
Waves drop more coins. Total +20%.
—
—
—
Your minions in your castle become stronger. Total +5%.
—
Automatically retry battles after you lose.
Center node of the hexagonal skill tree (crown icon).
—
Community-reported node: boosts gains while seated on the throne. Exact effect and cost require in-game capture.
Increase your summon luck, soul drops, and altar slots.
—
—
—
Better odds when summoning units. Total +50%.
23 videos
Verification by entry
0 of 41 entries verified in game
NerdsChalk wave-125 route mentions a Realm Power node (throne-related gains); not yet seen in our footage
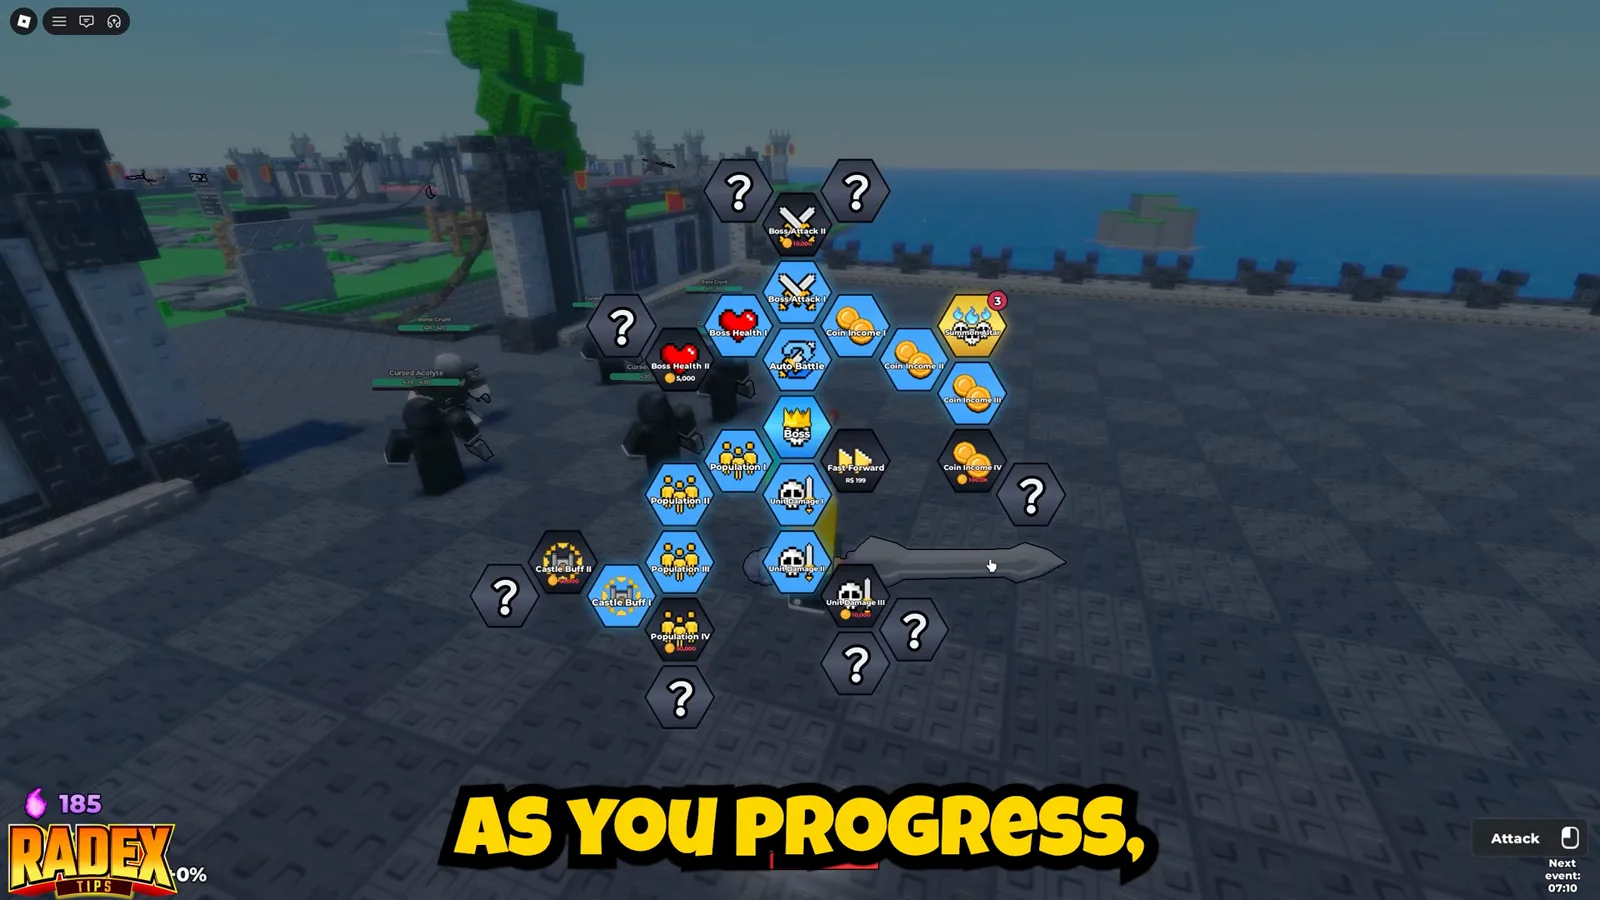
It is the hexagonal Coin-upgrade grid at the center of your progression: six branches (Army, Personal, Economy, Castle, Feature, Summon) covering unit slots, damage, income, and quality-of-life nodes. Advancing it also unlocks weapons, per the official game description.
Start with the cheapest observed nodes — Swing Speed I (50 Coins), Soul Harness I (100), Unit Damage I (200), Population I (300), and Auto Battle (350) — before saving for Population II. See the recommended order above for the full route.
Through the Population nodes in the Army branch. Population II (1,000 Coins) raises the cap to 7 slots and Population IV (50,000 Coins) raises it to 15; higher tiers exist up to Population VII.
No respec option has been confirmed in our verified sources so far. Treat purchases as permanent and check the current in-game tree before committing large amounts of Coins.
A golden node with its own level badge that opens the Summon subtree — Summon Luck, Soul Harness, and Altar Slot nodes that improve summon odds, soul drops, and how many altars you can run.
There is no single confirmed meta, but the fastest-growth route is the one above: cheap compounding nodes first (Swing Speed, Unit Damage, Population), Population II at 1,000 Coins for the slot-cap jump, then Coin Income to fund the big tiers. Summon branches are the late-game chase.