
01
Start with roles
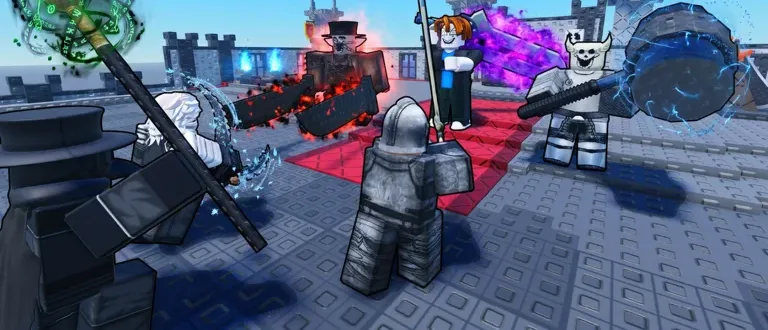
Check the roster for frontline, ranged damage, support, or guard coverage. Do not fill every slot with one role before seeing what fails first.
A practical Be The Final Boss layout guide for early progression, AFK runs, and boss checkpoints.
There is no universal fixed lineup: use observed roles, your population cap, and the wave that stopped you before changing a build.
This guide focuses on a decision process instead of unsupported rankings. It works with the units you actually own and leaves room for live-game verification.
01
Check the roster for frontline, ranged damage, support, or guard coverage. Do not fill every slot with one role before seeing what fails first.
02
Build for the next observed boss checkpoint, then compare your population use, known DPS, and survivability against the same goal.
03
Swap one unit, mutation, or skill-tree investment at a time. This makes it clear whether the change improved the run.
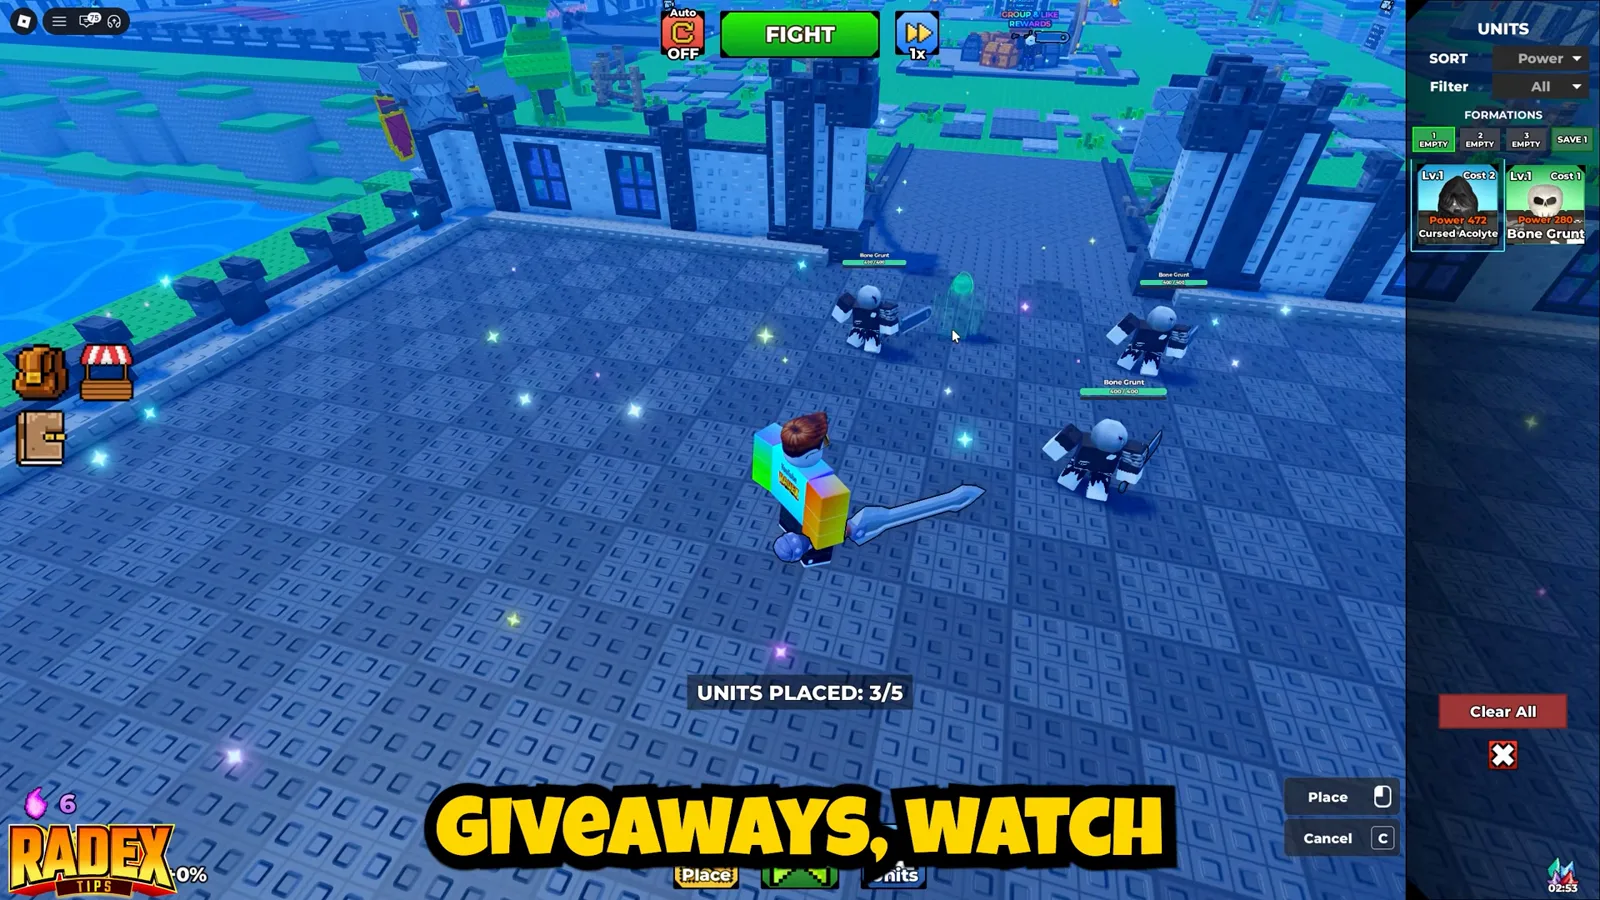
Keep the lineup inside the current population cap and prioritise role coverage. Record the first wave that breaks the line before spending on a broad rebuild.
Use a stable, repeatable team rather than chasing a claim of the single best unit. Recheck it after a new unit, mutation, or update changes the available data.
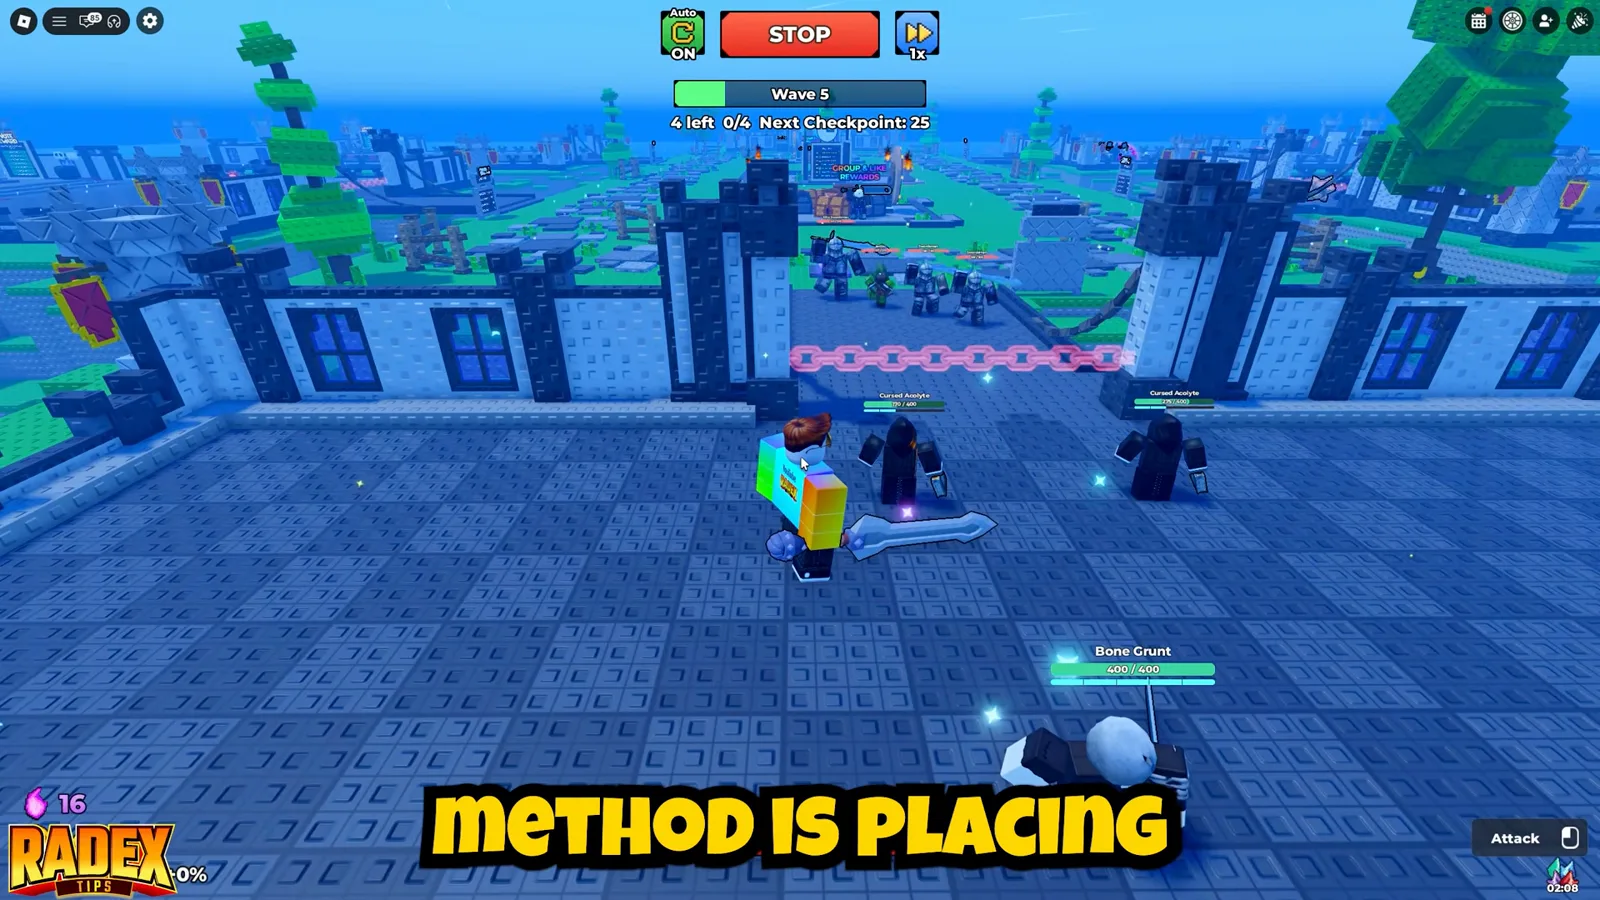
Use the failed boss wave as the test case. Check team damage, boss health reference, and population before deciding whether to improve the lineup or your own weapon.
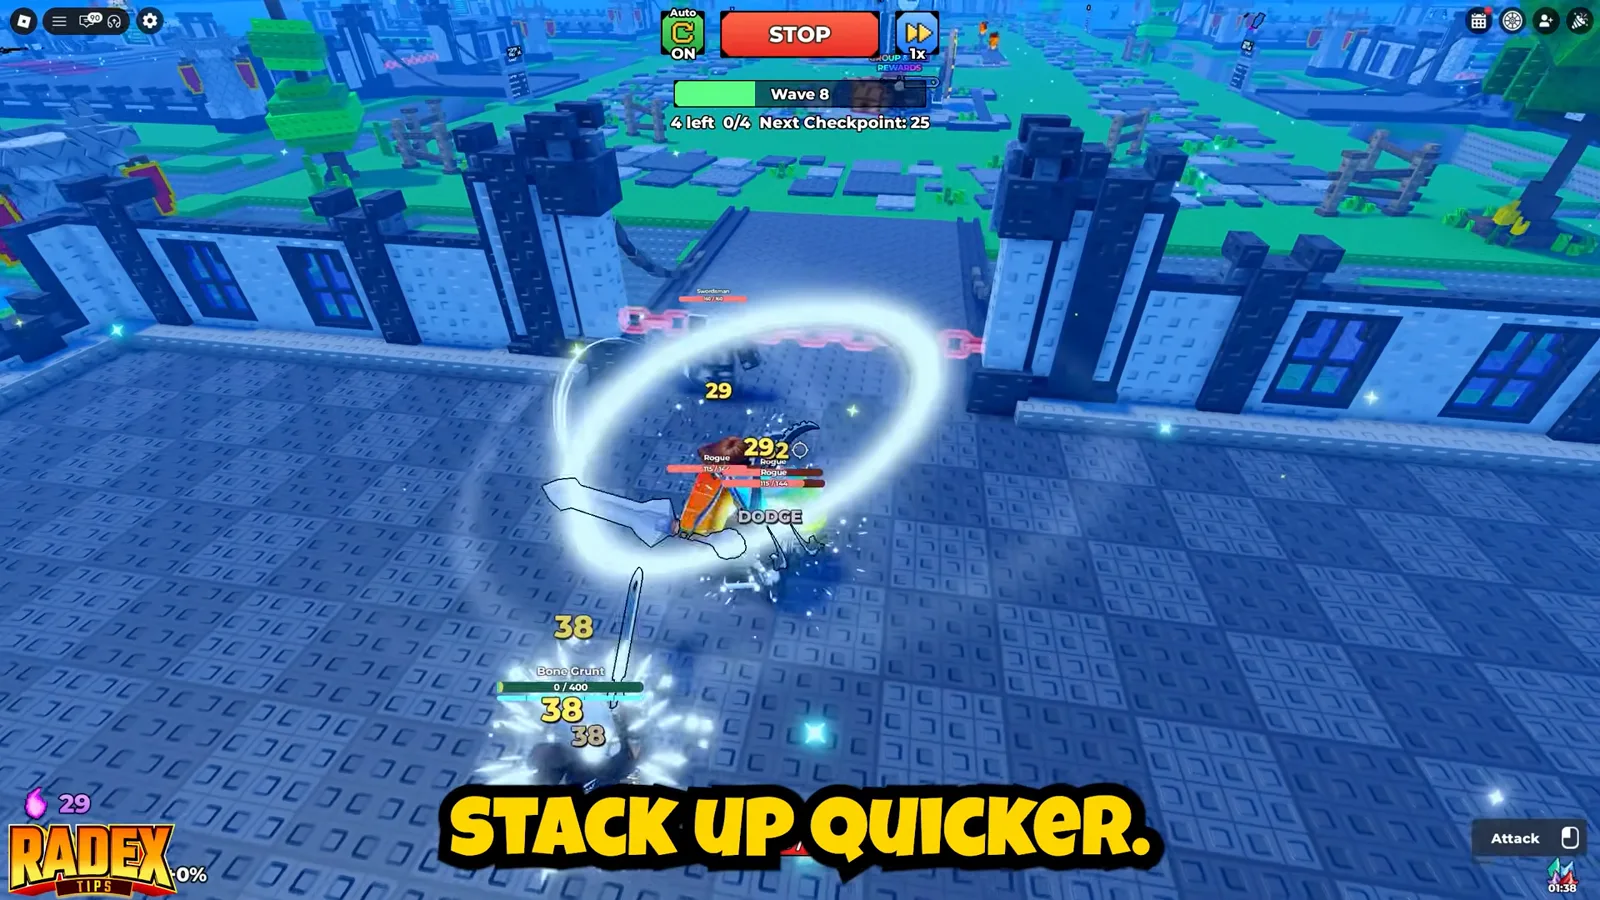
The Team Builder tracks population, known unit stats, mutation effects, and role coverage. Pair it with the Wave Planner when a specific checkpoint stops your run.