
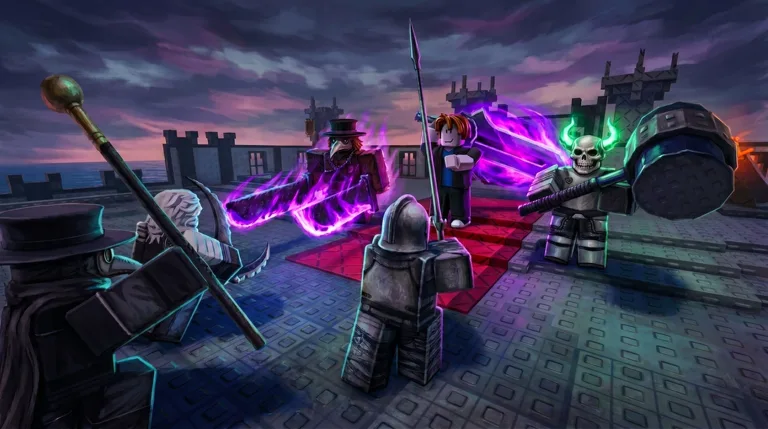
Be The Final Boss Guides
Illustrated Be The Final Boss guides: get Coins fast, AFK farm setup, Souls farming, mutations, and best units — plus verified system reference notes.
Last updated: 2026-09-18
This guide records only the core systems and Update 1 details confirmed in the official Roblox listing. It does not estimate unit strength, rewards, requirements, or hidden mechanics.
Pick an illustrated walkthrough below for step-by-step screenshots, or read the verified system reference sections further down. Each video guide covers one search intent — Coins, AFK farming, Souls, mutations, or team building.
Which guide do you need?
| I need Coins fast | Get Coins Fast guide |
| I want to AFK farm | AFK Farm Setup guide |
| I need Souls or Fusion Shards | Farm Souls & Shards guide |
| I want better mutations | Mutations Roll guide |
| I want the best team | Best Units & Team guide |
| I want weather event timers | Weather Events guide |
| I want to push higher waves | Push Higher Waves guide |
| I want the best armor | Armor guide |
| I need a mid-game plan | Mid-Game Progression guide |
| I'm a new player | Beginner guide |
| I want the latest update summary | New Units & Update Changes |
| I want castle upgrades and raids | Castle & Raids guide |
| I want the Secret rarity units | Secret Units guide |
| I want to know which troops to buy | Troop buying & formation guide |
| I want to customize my castle look | Castle skins walkthrough |
| I want to know how to get units | How to Get Units guide |
| I want to handle the hero waves | Hero Waves guide |
| I want to pick the right weapon | Weapons Guide |
| Layout | Best base layout |
| I want the Abyssal Breach event | Abyssal Breach event guide |
| I want to farm shards faster | Shards Guide |
Step-by-step video guides
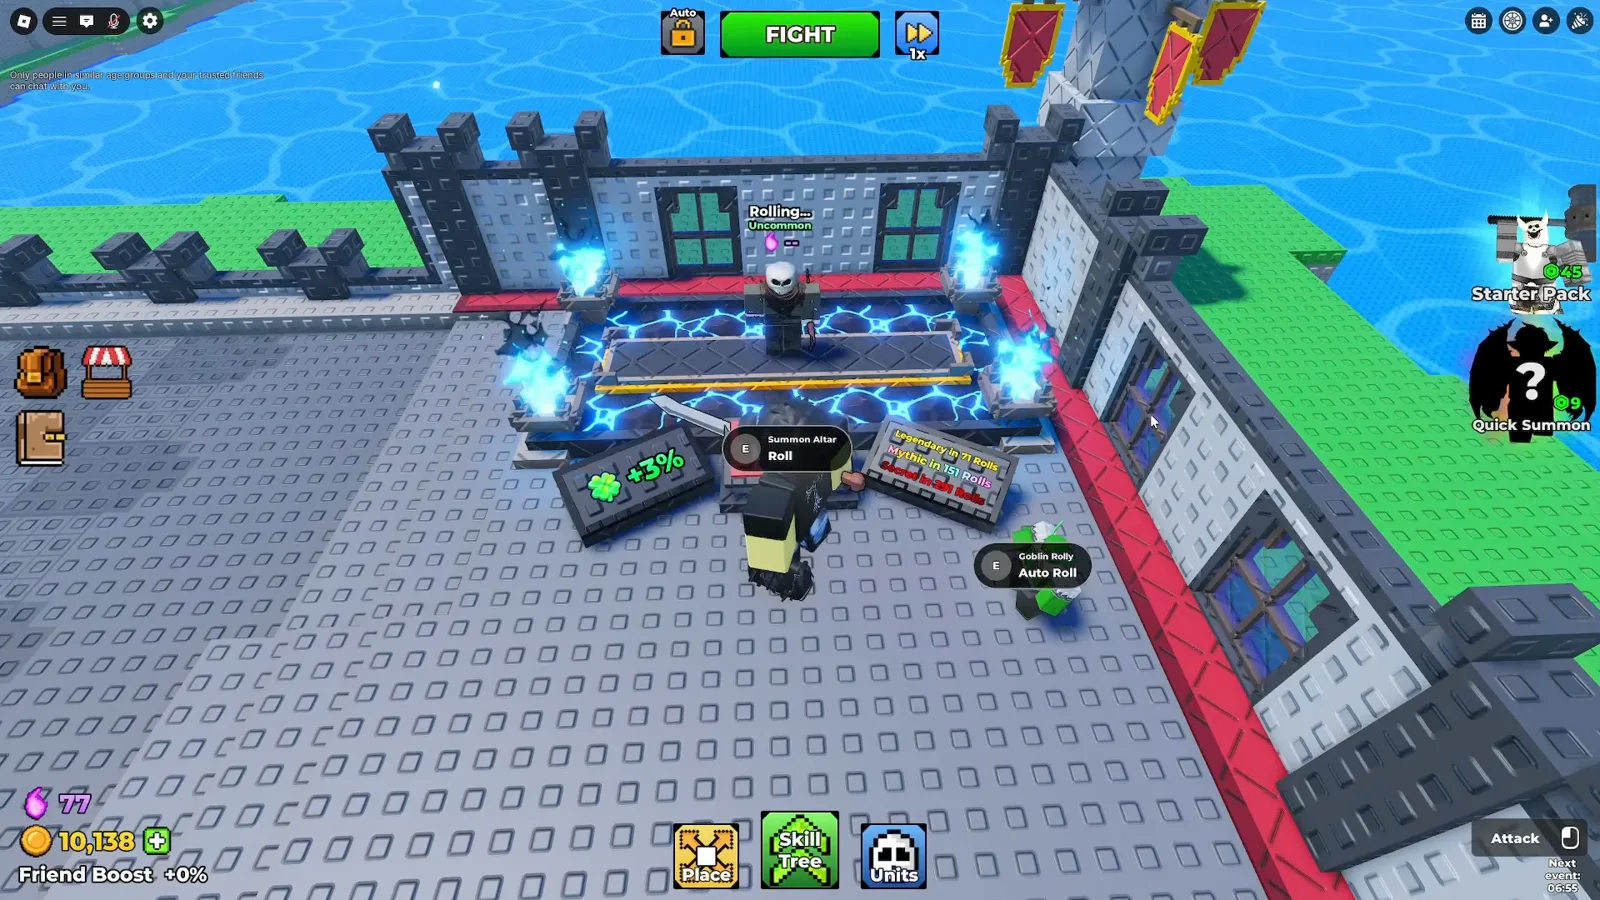
How to Get Coins Fast
Front spawn placement, AFK coin loops, and code redemption — illustrated with in-game screenshots.

Best AFK Farm Setup
Stop using back-line formations. Build a spawn-kill cluster at the enemy gate for faster AFK coins.
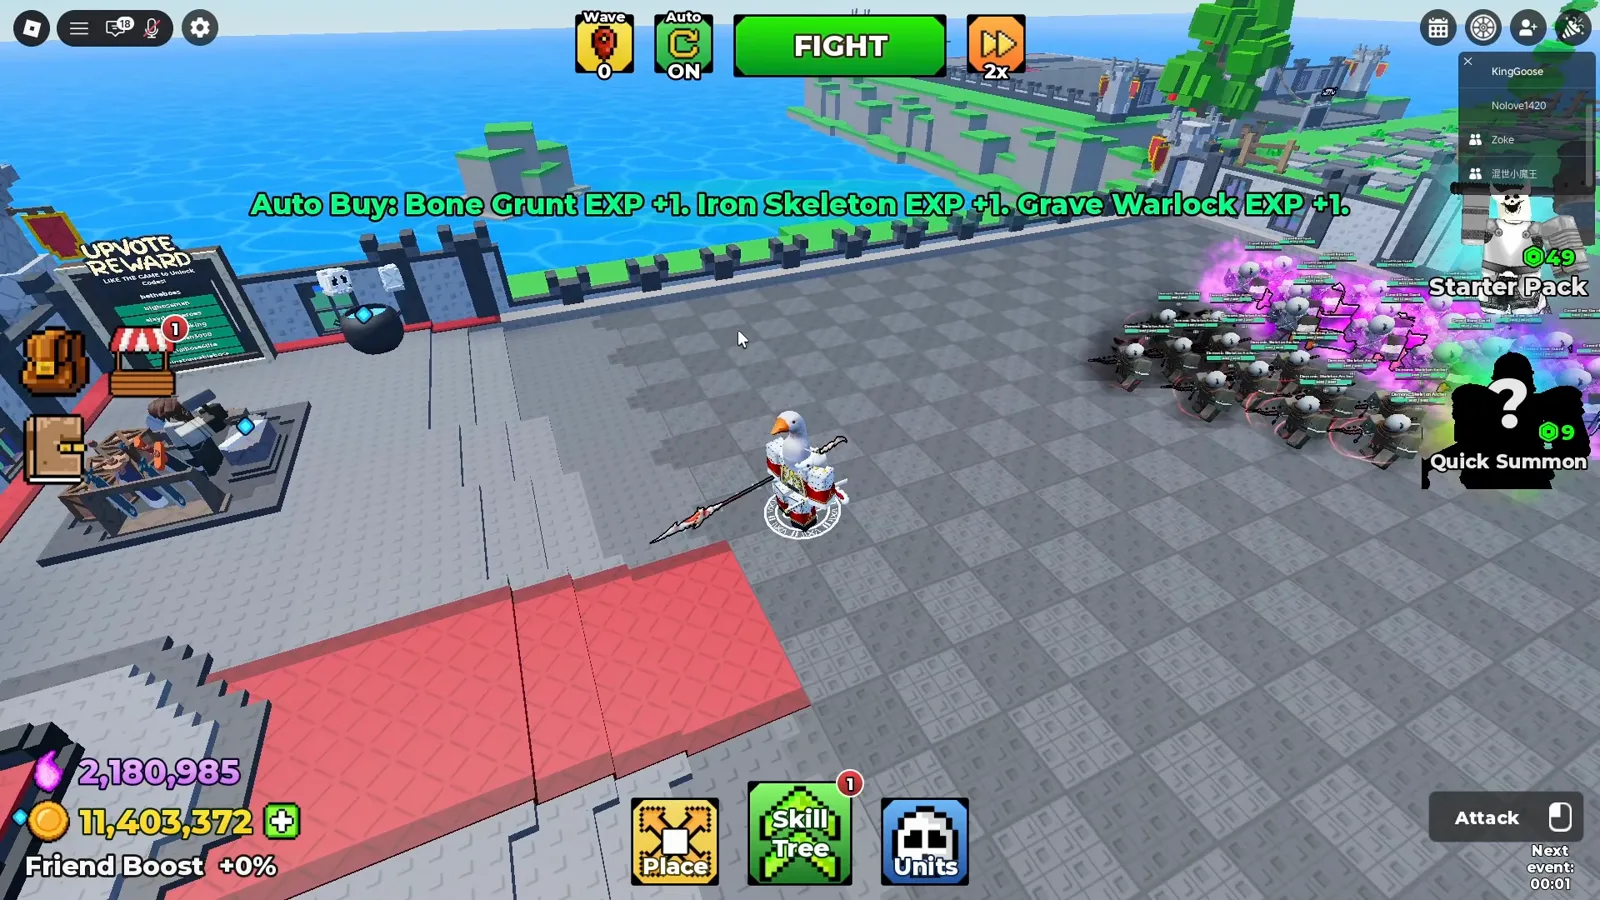
How to Farm Souls, Coins & Shards
Skill tree priorities, wave start sweet spots, and throne AFK — the F2P resource farming route.
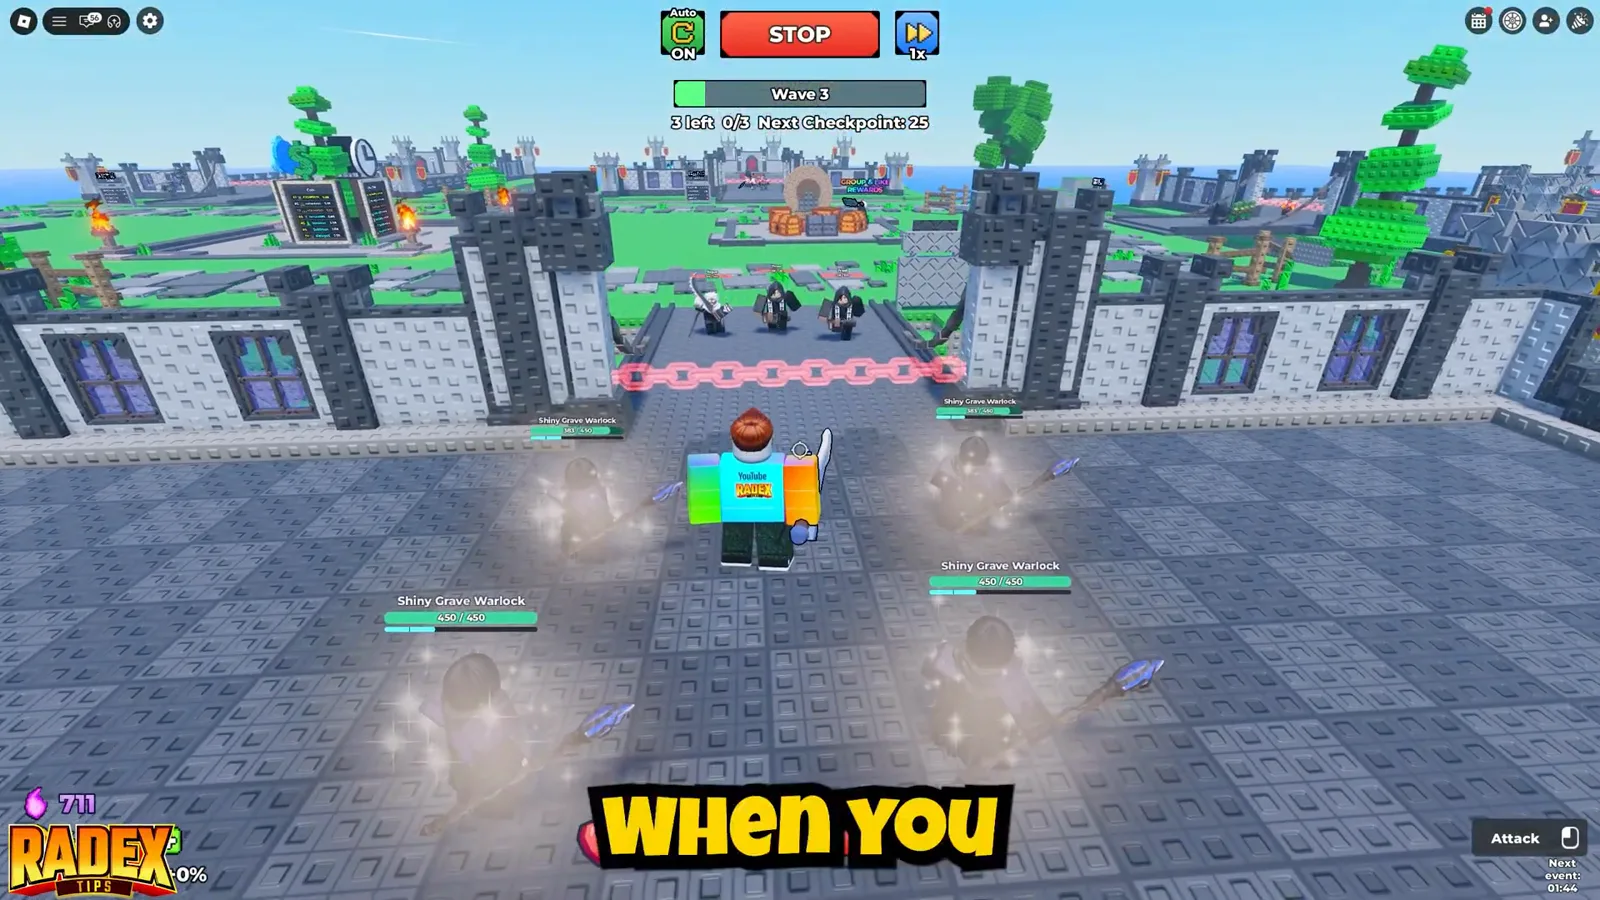
Mutations Roll Guide
Shiny vs Cursed vs Demonic, Cursed Moon timing, and when to spend souls at the Summon Altar.
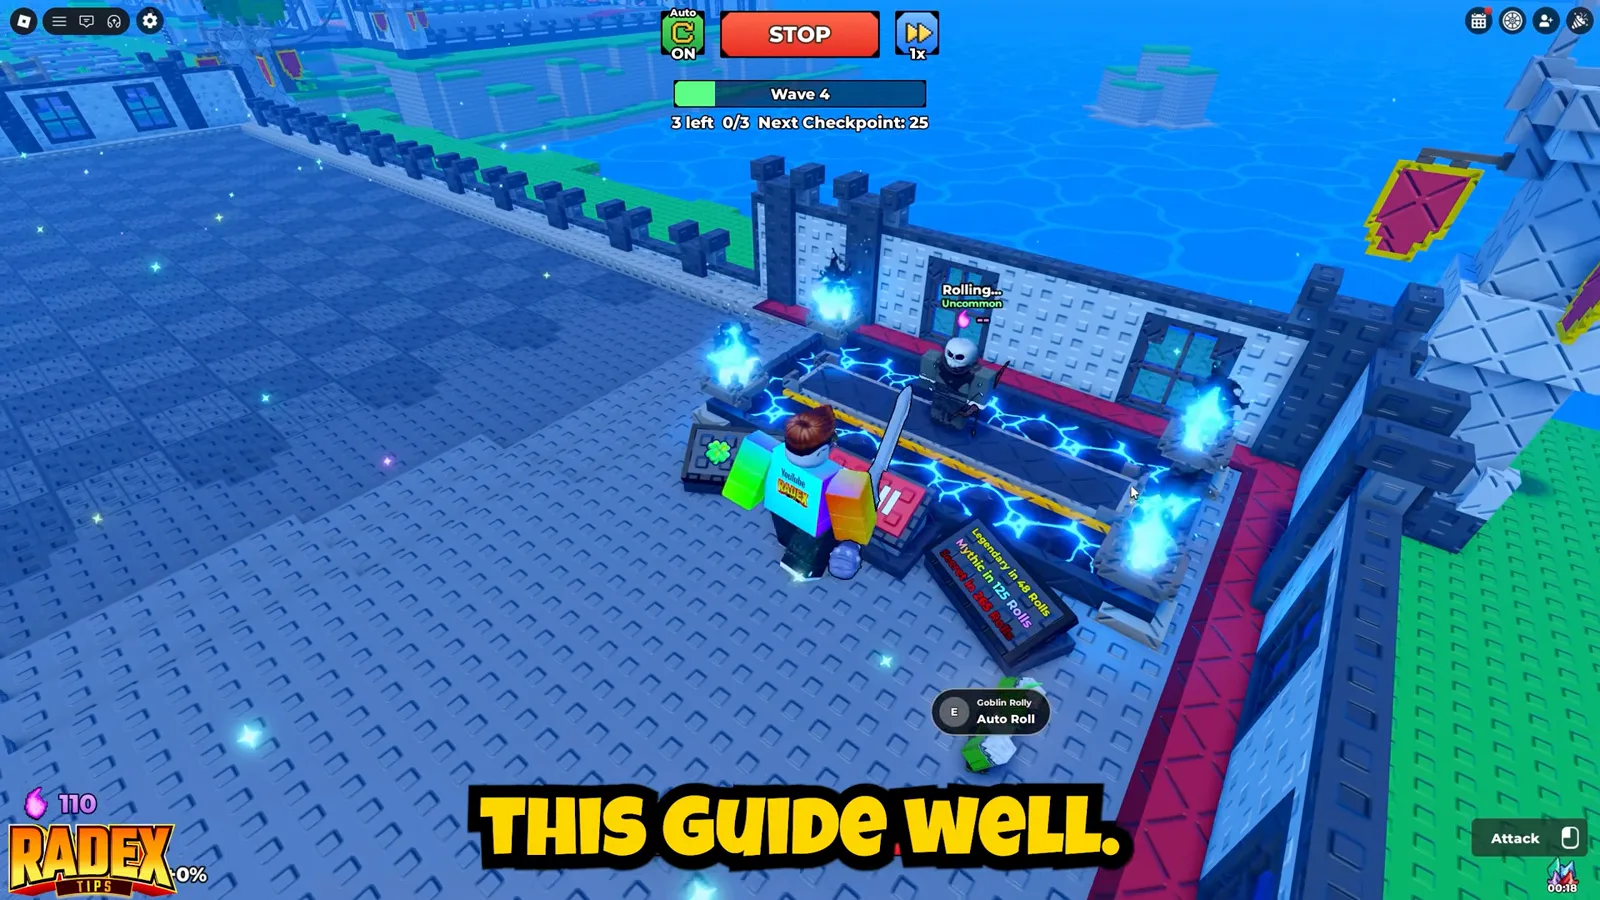
Best Units & Team Building
Mighty Orc, Grave Warlock, mutation comparisons, and synergy roles for harder hero waves.
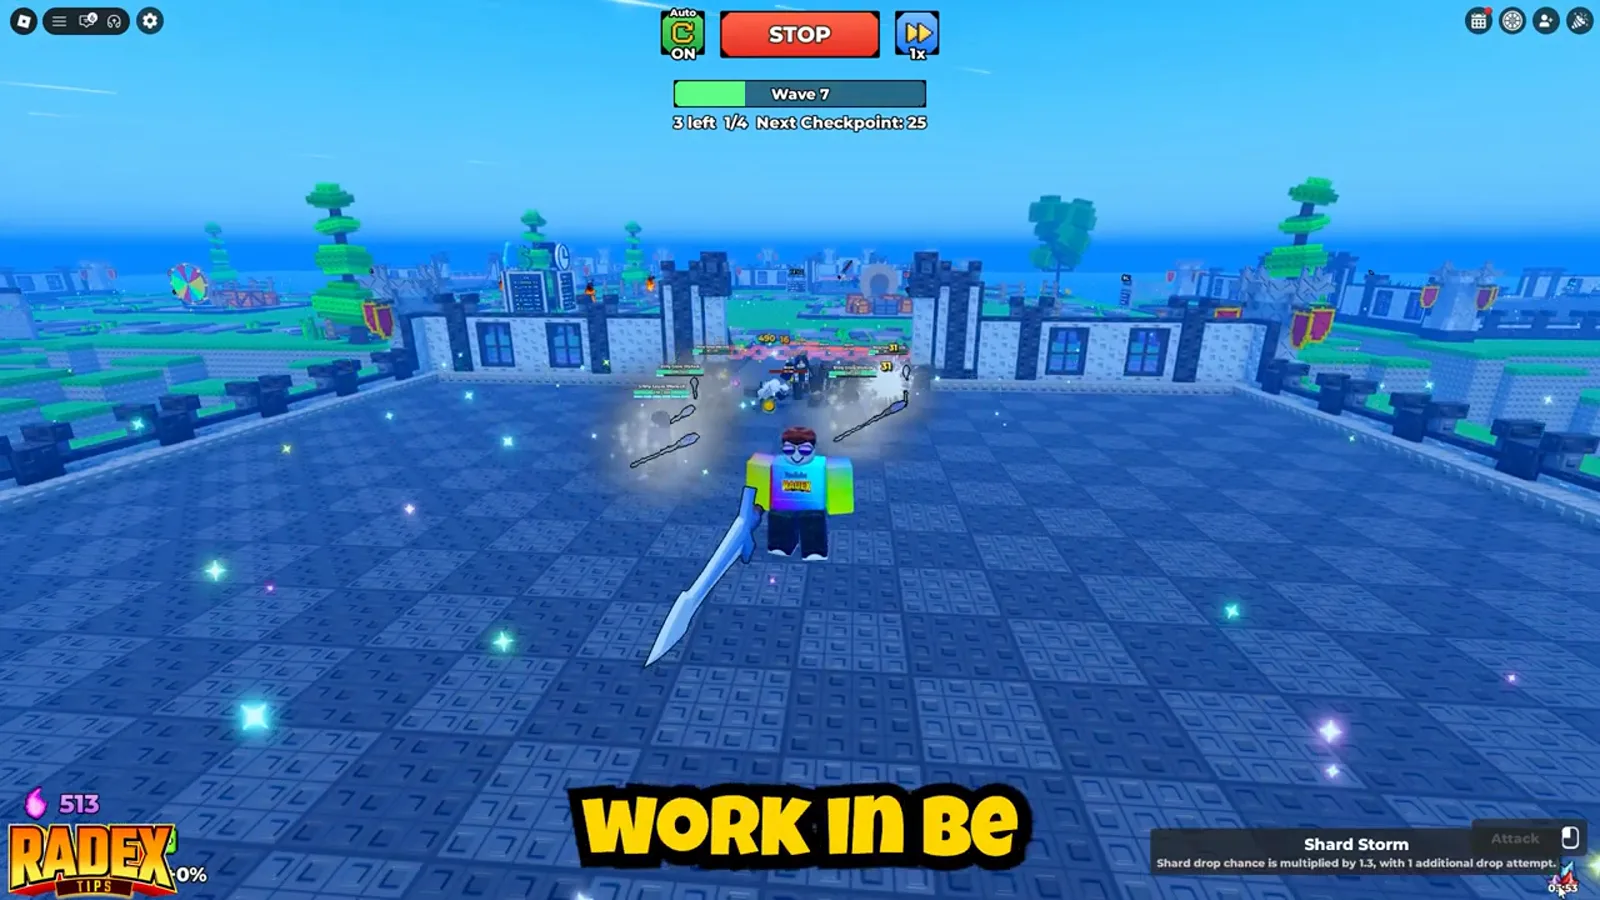
Weather Events Guide
How Gold Rush, Shard Storm, and Cursed Moon work — and the best activity for each 5-minute window.
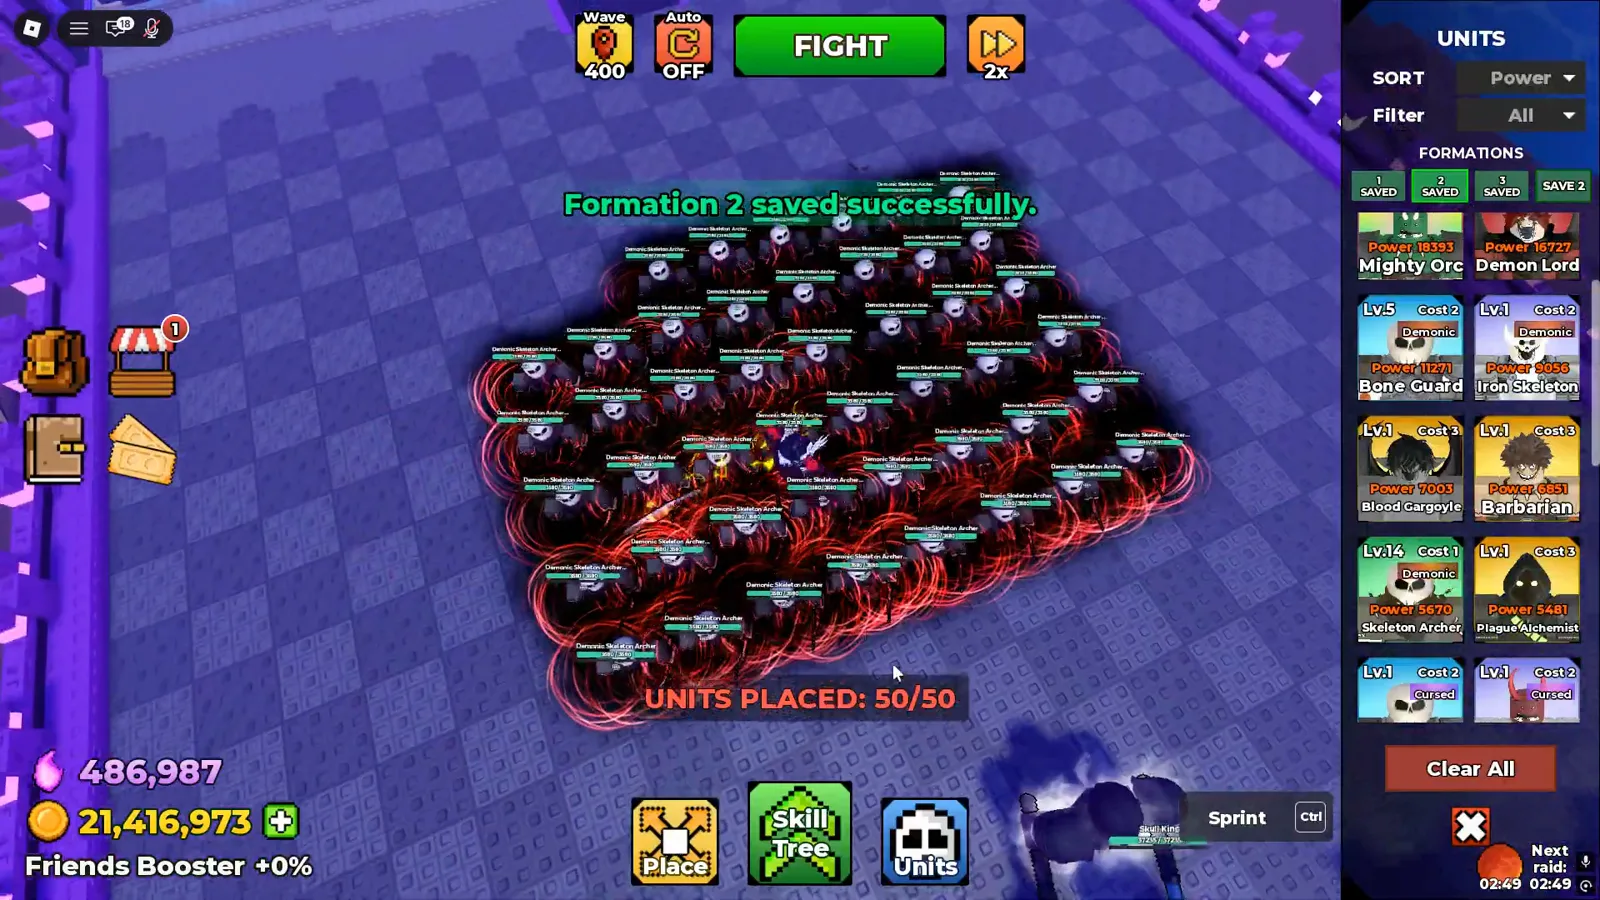
How to Push Higher Waves
Skull King frontline, Demonic Skeleton Archer backline, Population skill tree, and Permafrost Palace for climbing past wave 100.
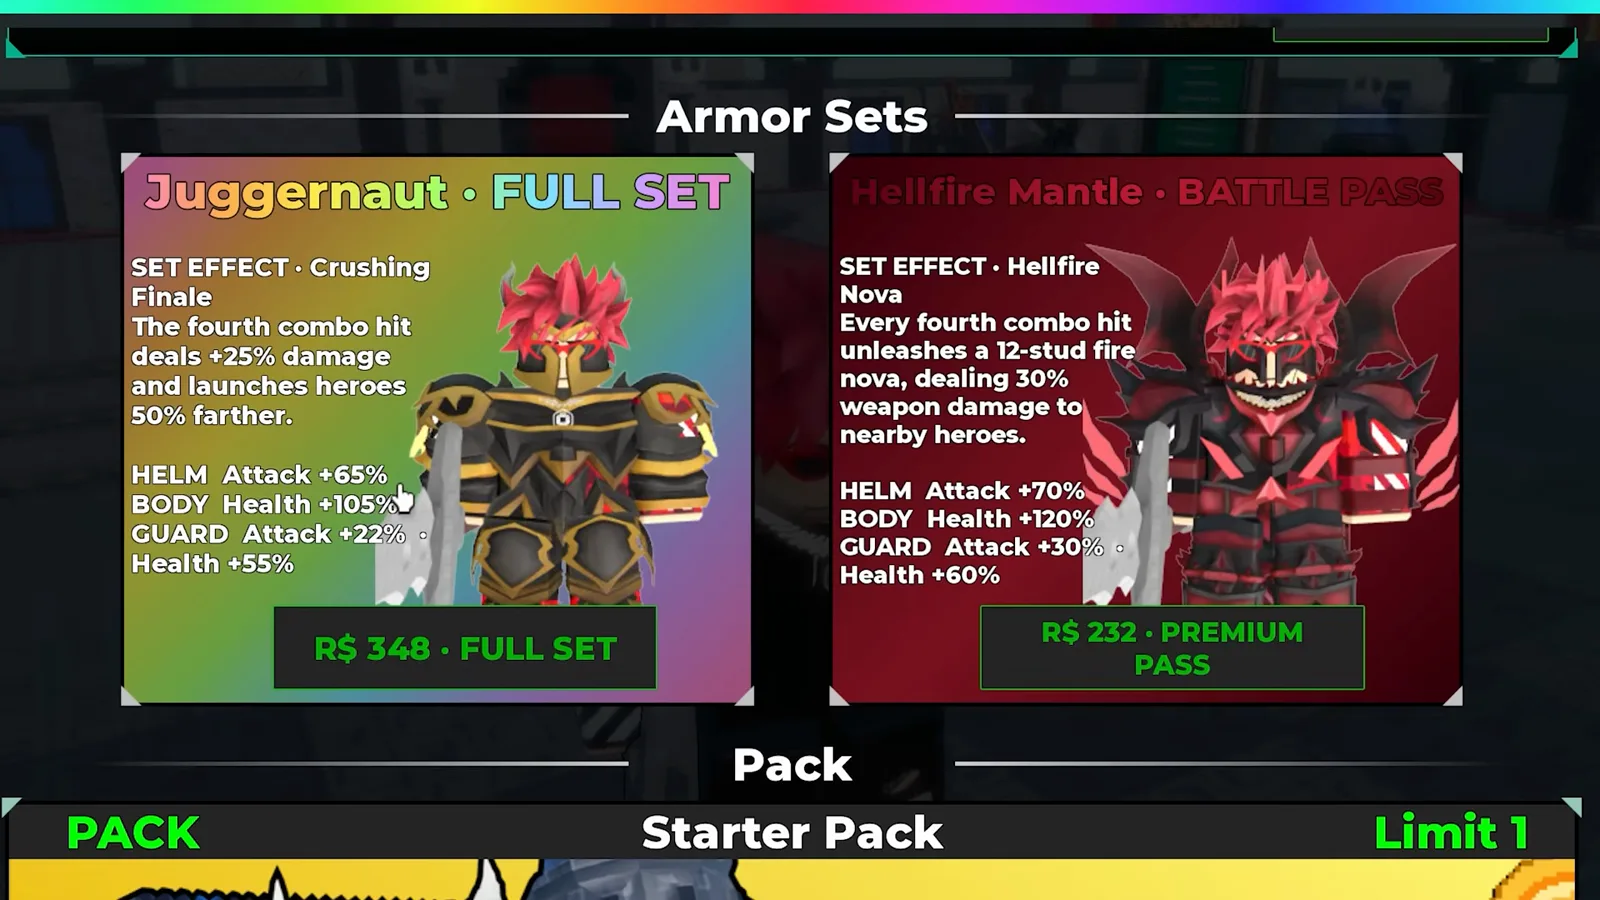
Armor Guide: Best Sets
Compare Hellfire Mantle, Juggernaut, and Forge Stone armor pieces so you know where to spend your Robux and Forge Stones.
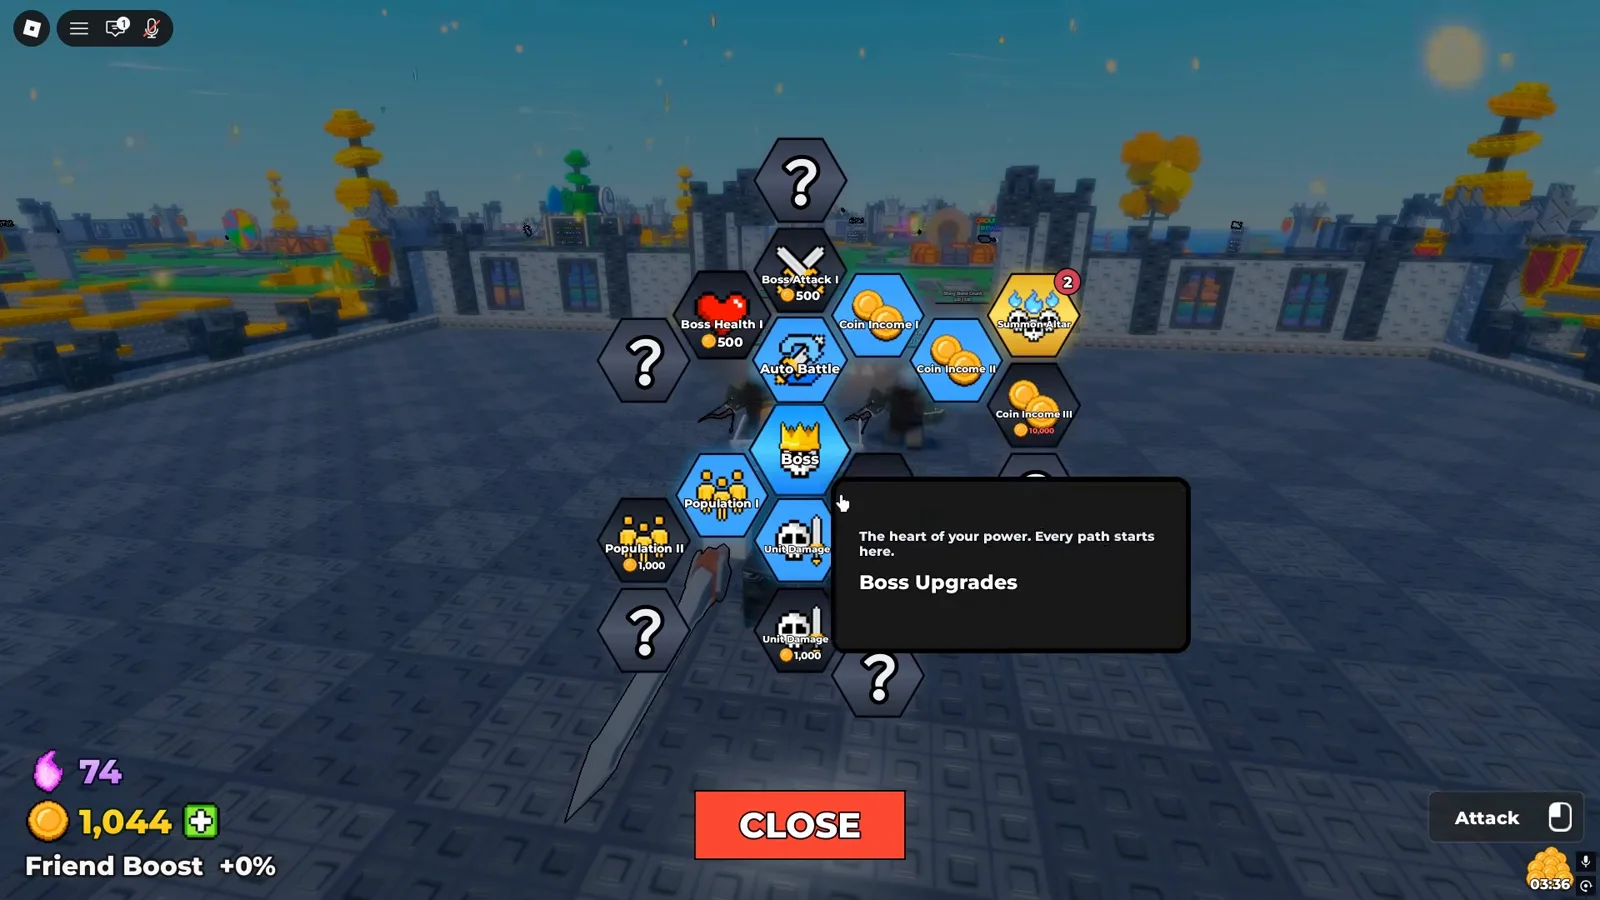
Mid-Game Progression Guide
Skill tree order, weapon upgrades, shard spending, unit placement, and summon priorities for after the tutorial.
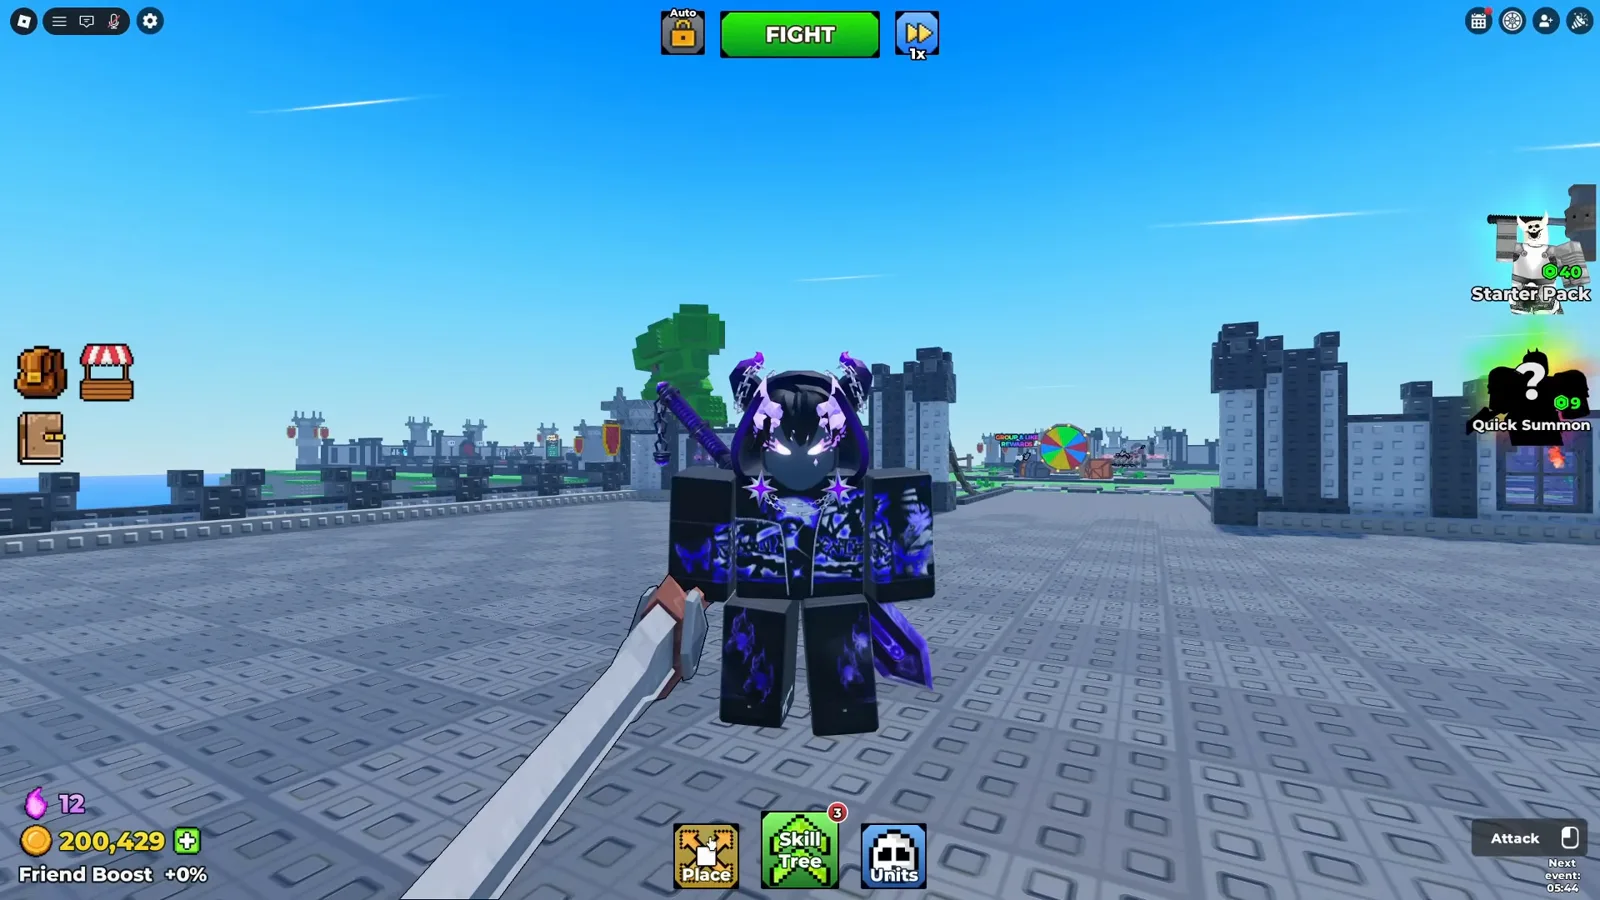
Beginner Guide: First Session
A step-by-step first session: core loop, first weapon, first rolls, wave checkpoints, and the skill tree picks that matter early.
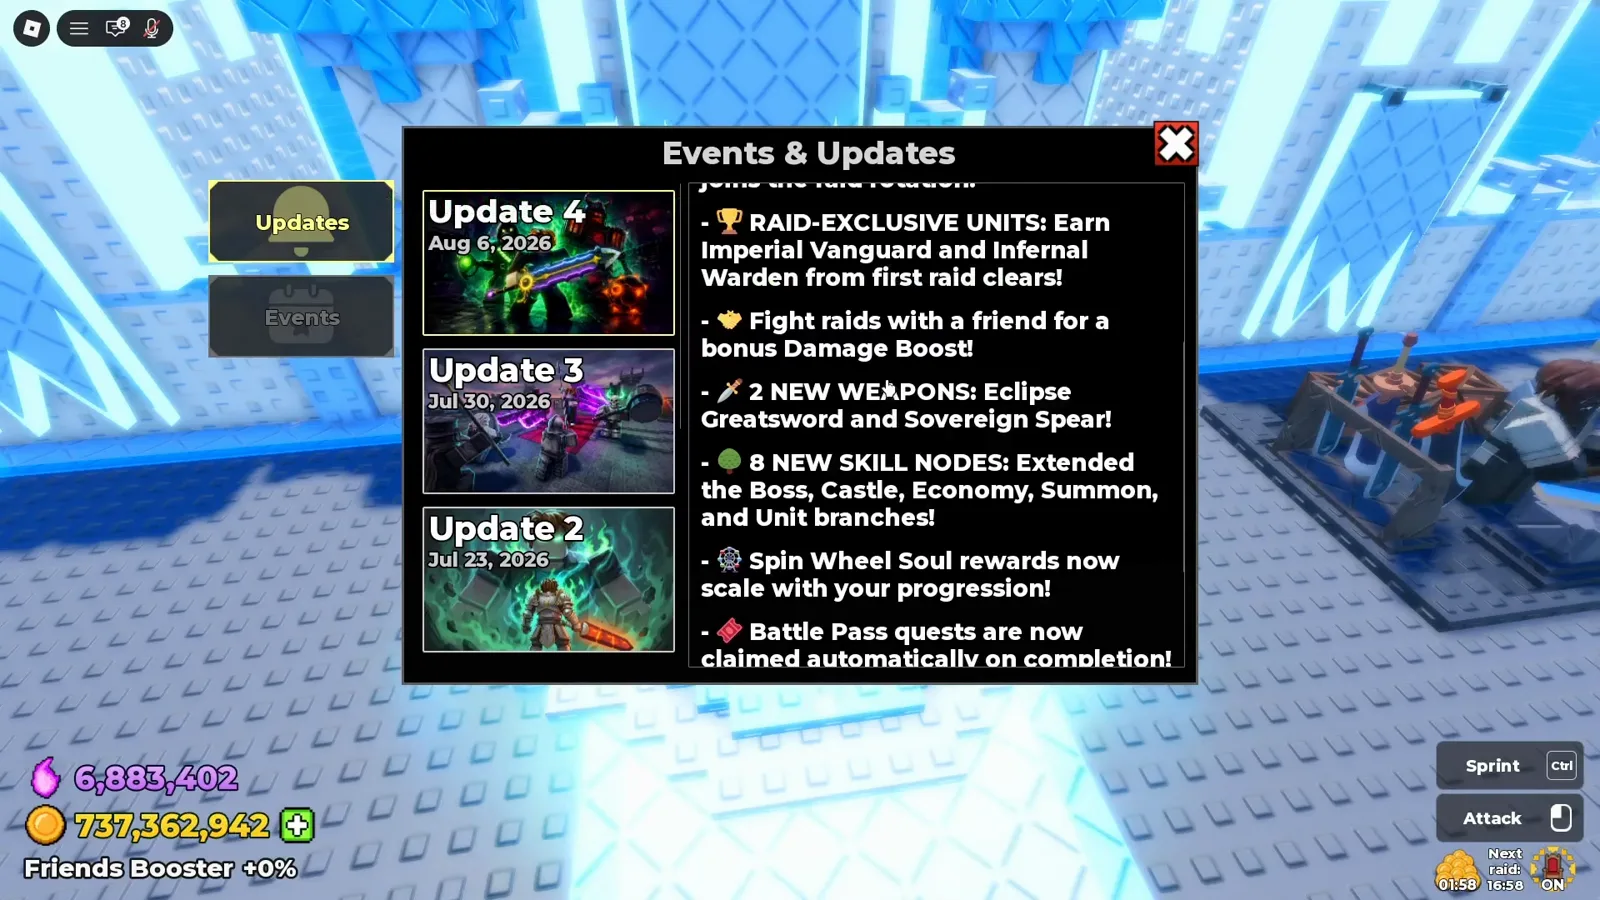
New Units & Update Changes
The latest update shown in-game: six new units, raid-exclusive secrets, four boss abilities, billion-coin weapons, and the skill nodes worth ignoring.
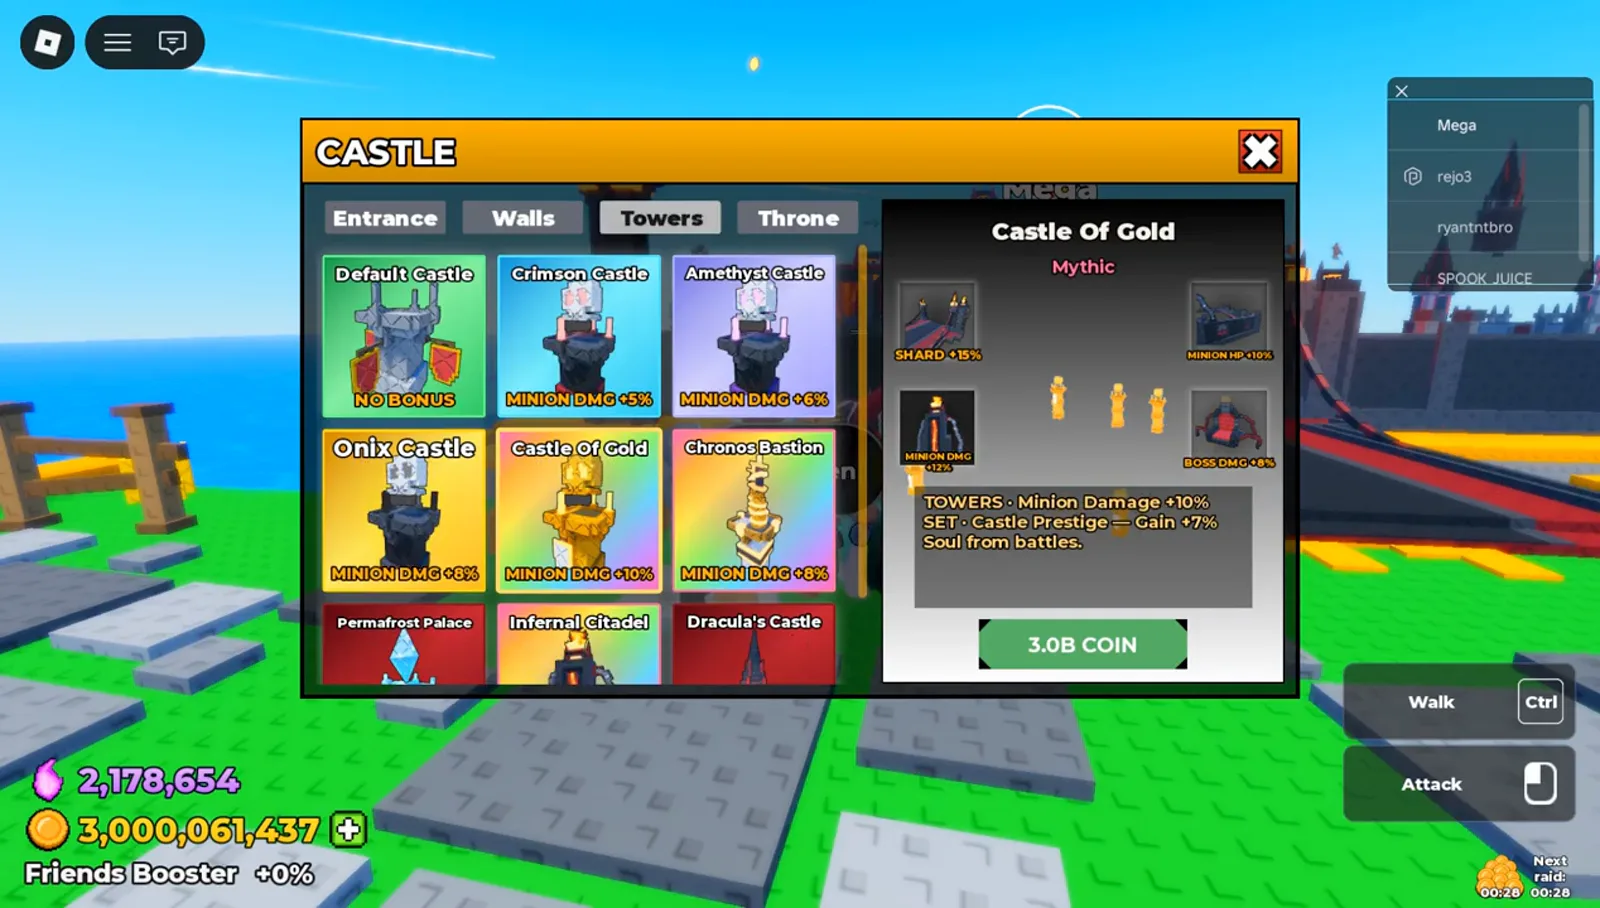
Castle System & Raids
Castle slot upgrades, the Imperial Knight raid join window, damage milestone rewards, and what Phase 2 changes — from 2026 raid footage.
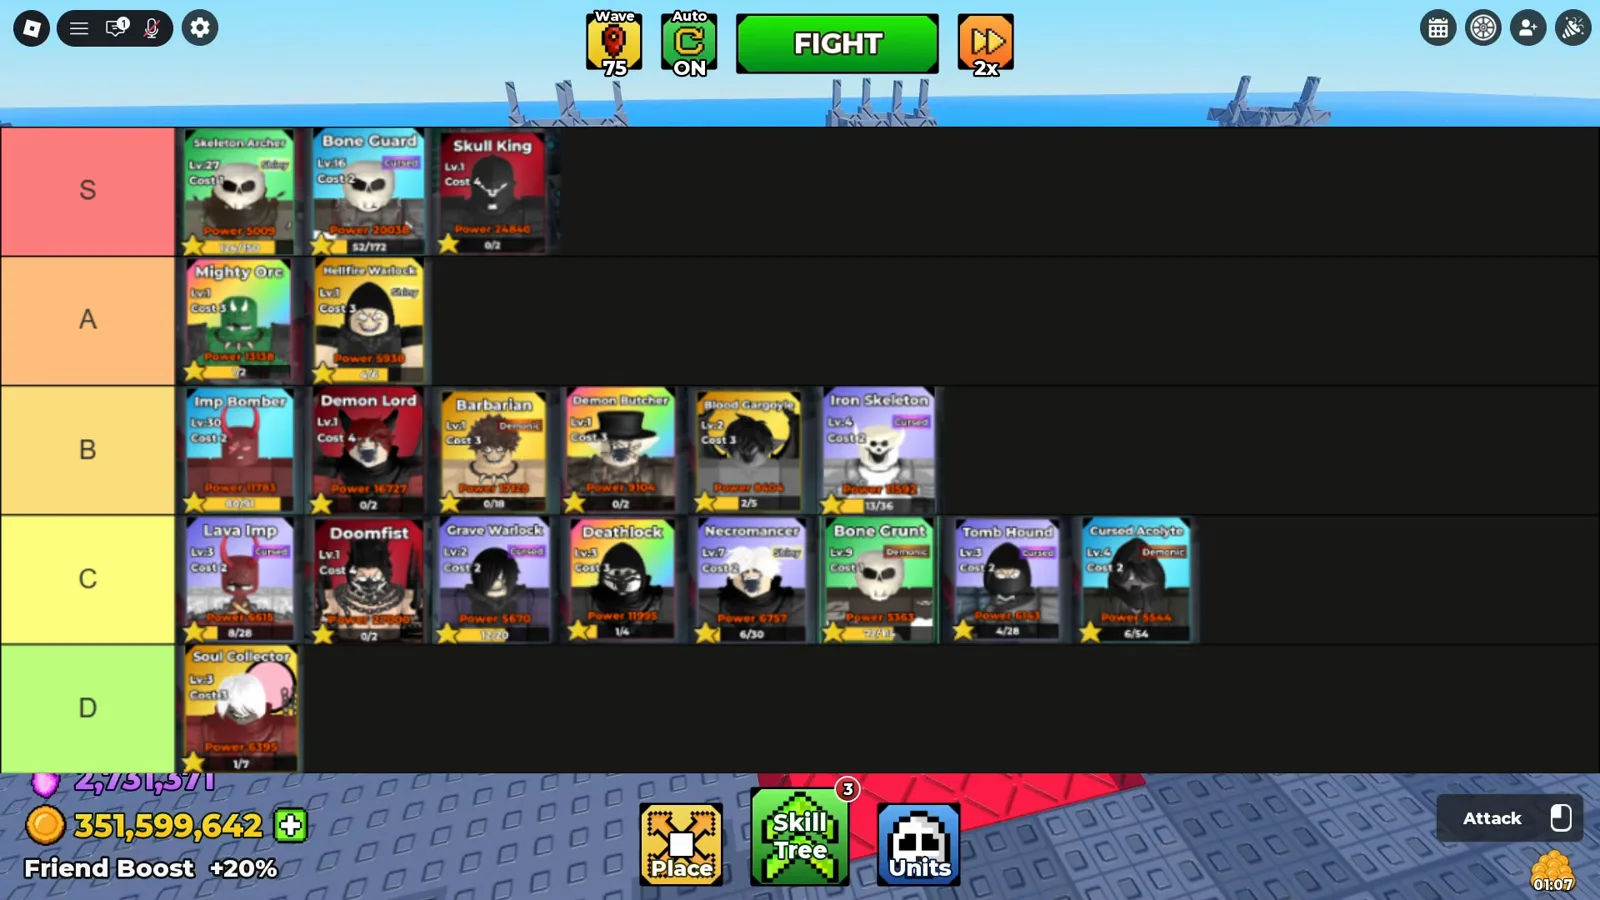
Secret Units: Skull King, Demon Lord, Doomfist
Which Secret-rarity units exist, how rolling at the Summon Altar plays out, and what one creator’s Demonic Skull King did for his waves.
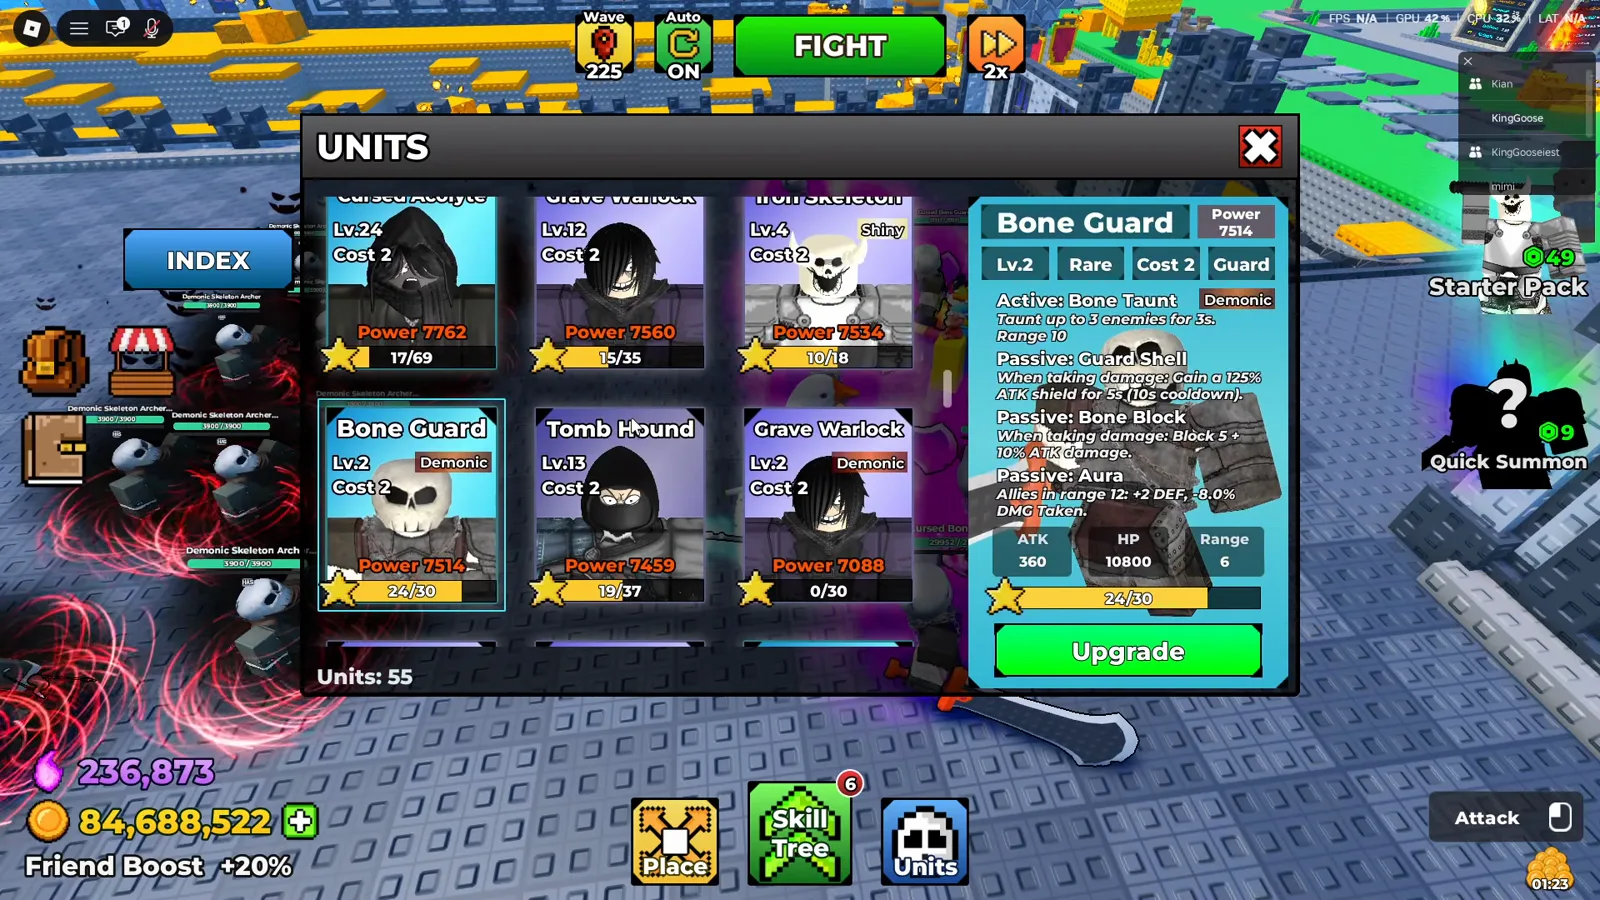
Troop Guide: What to Buy and What to Skip
A wave-373 player’s per-class walkthrough — which guards and ranged troops are worth souls, which supports and melees to skip, and how to formation them.
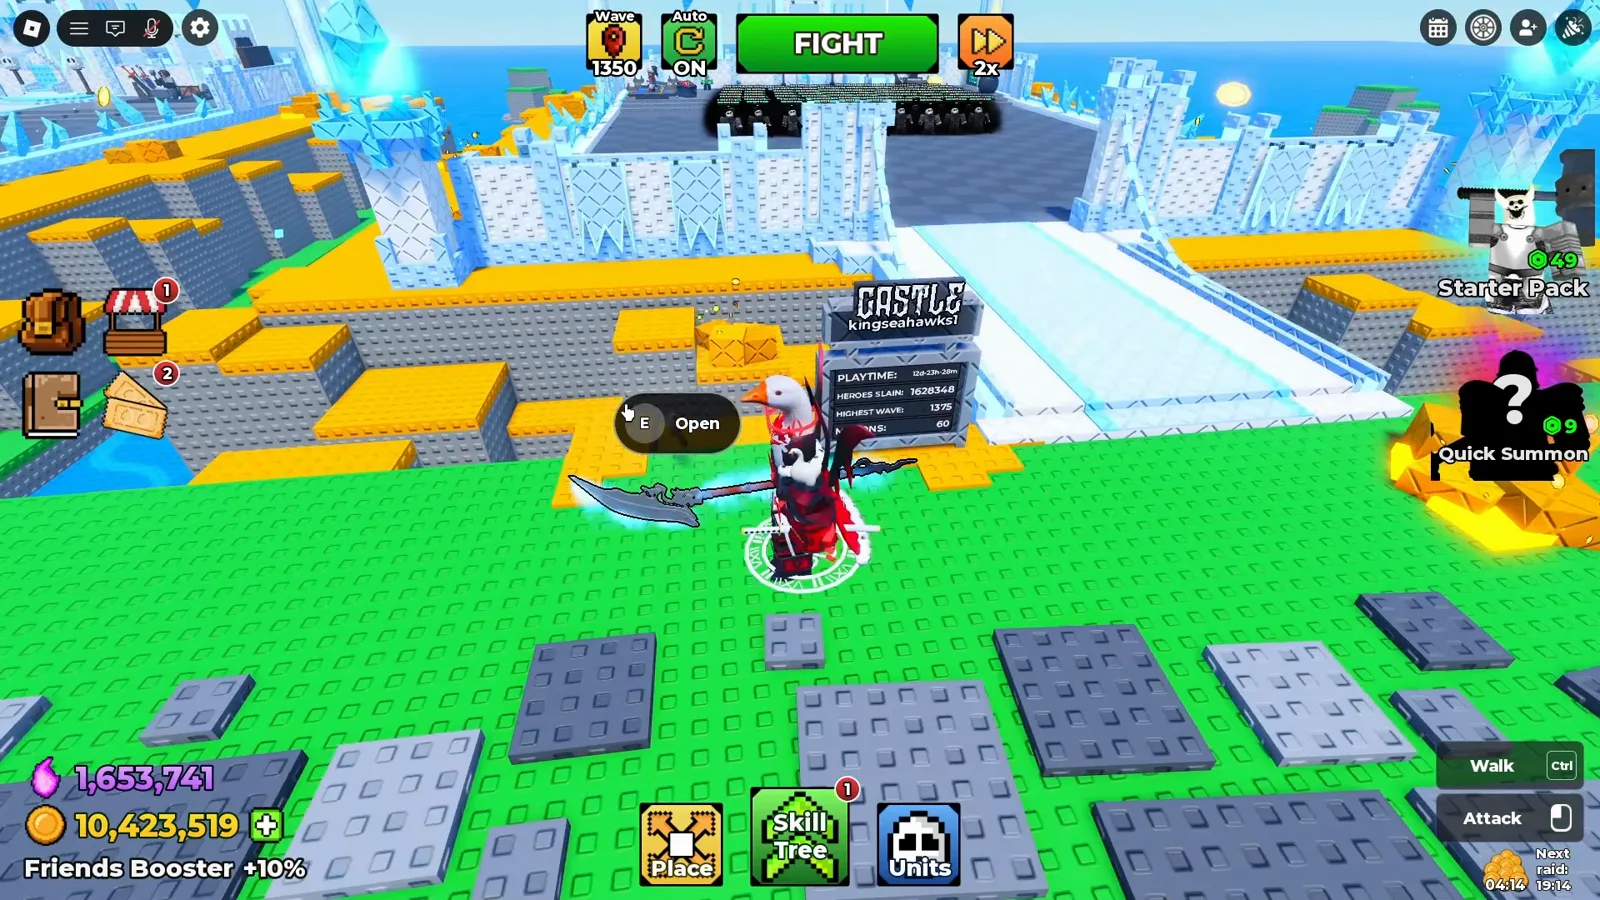
Castle skins walkthrough
Where the paintbrush menu is, how the four castle skin sections work, what a set costs, and whether skins are worth paying for.
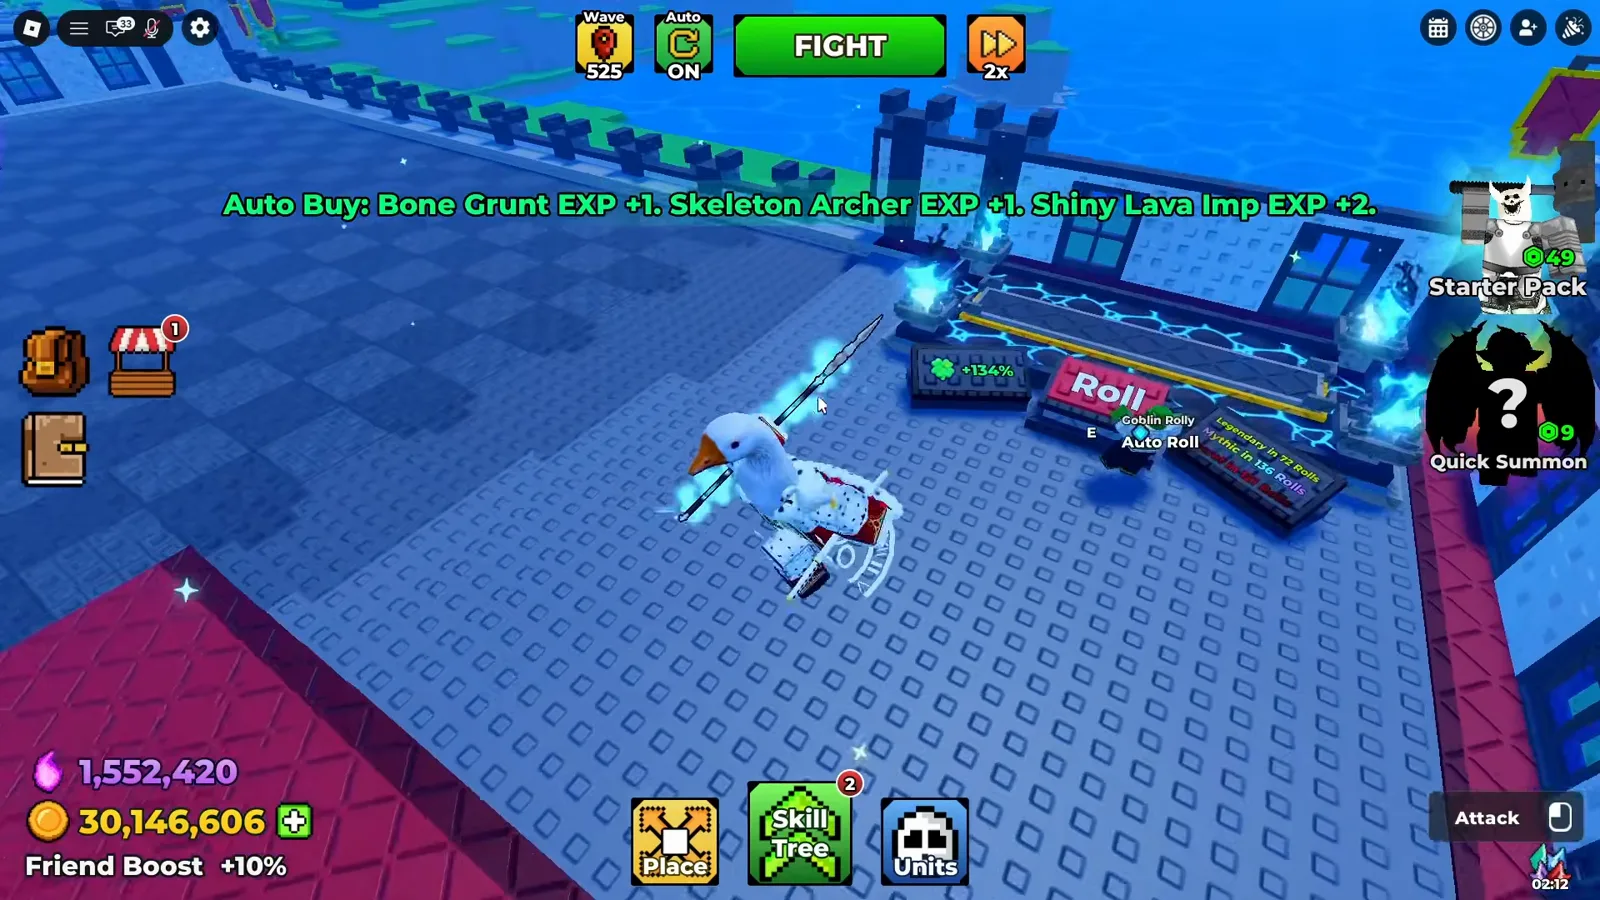
How to Get Units: Summon Altar, Souls, Auto Roll
Where units actually come from — the altar's Roll button, Auto Roll stop settings, population slots, and one account's real roll totals.
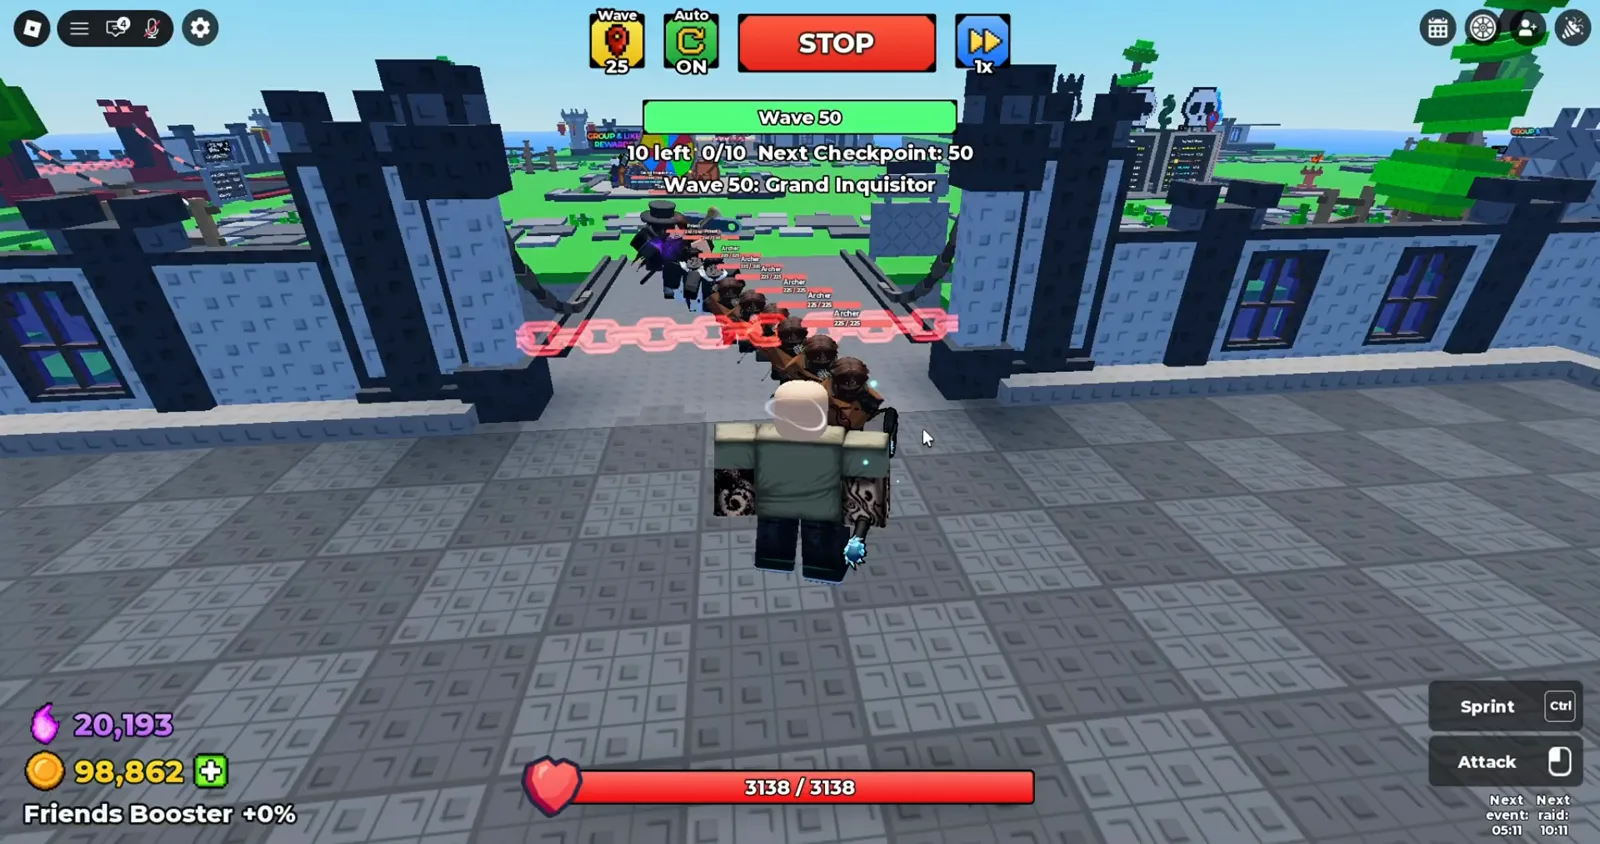
Enemies Walkthrough: Hero Waves, Boss Cycle, HP Scaling
Which heroes storm your castle, which checkpoint wave each of the four bosses lands on, and the enemy HP numbers actually read off the nameplates.
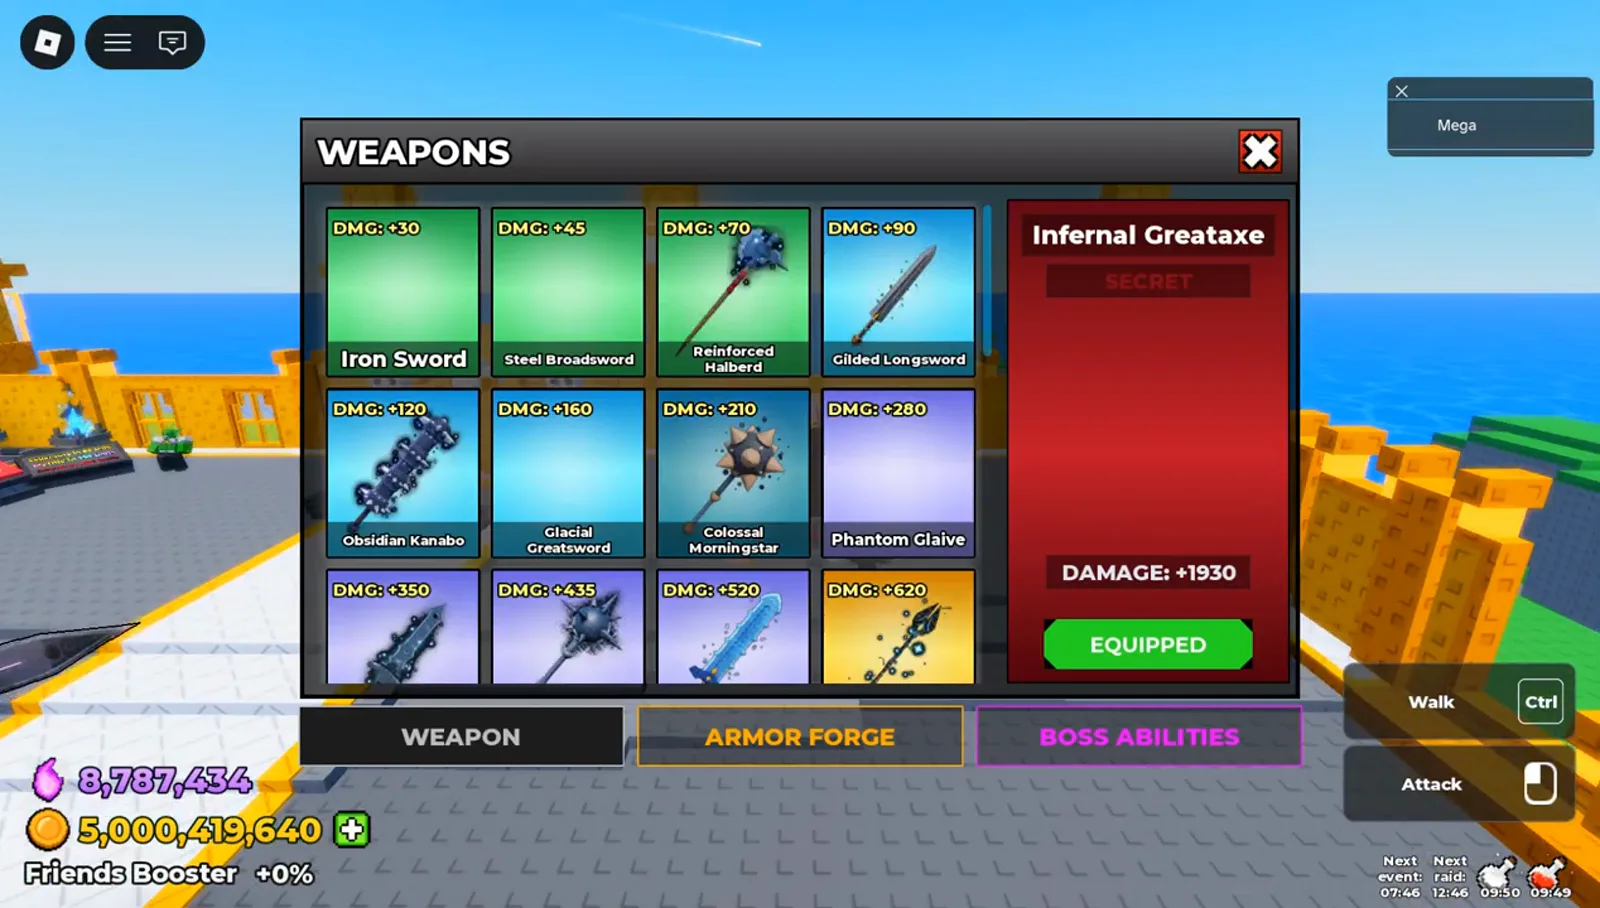
Weapons Guide: Where to Buy and What They Cost
The WEAPONS panel, its damage ladder, and one real 5,000,000,000 Coin purchase — plus four higher-damage slots this capture never names.
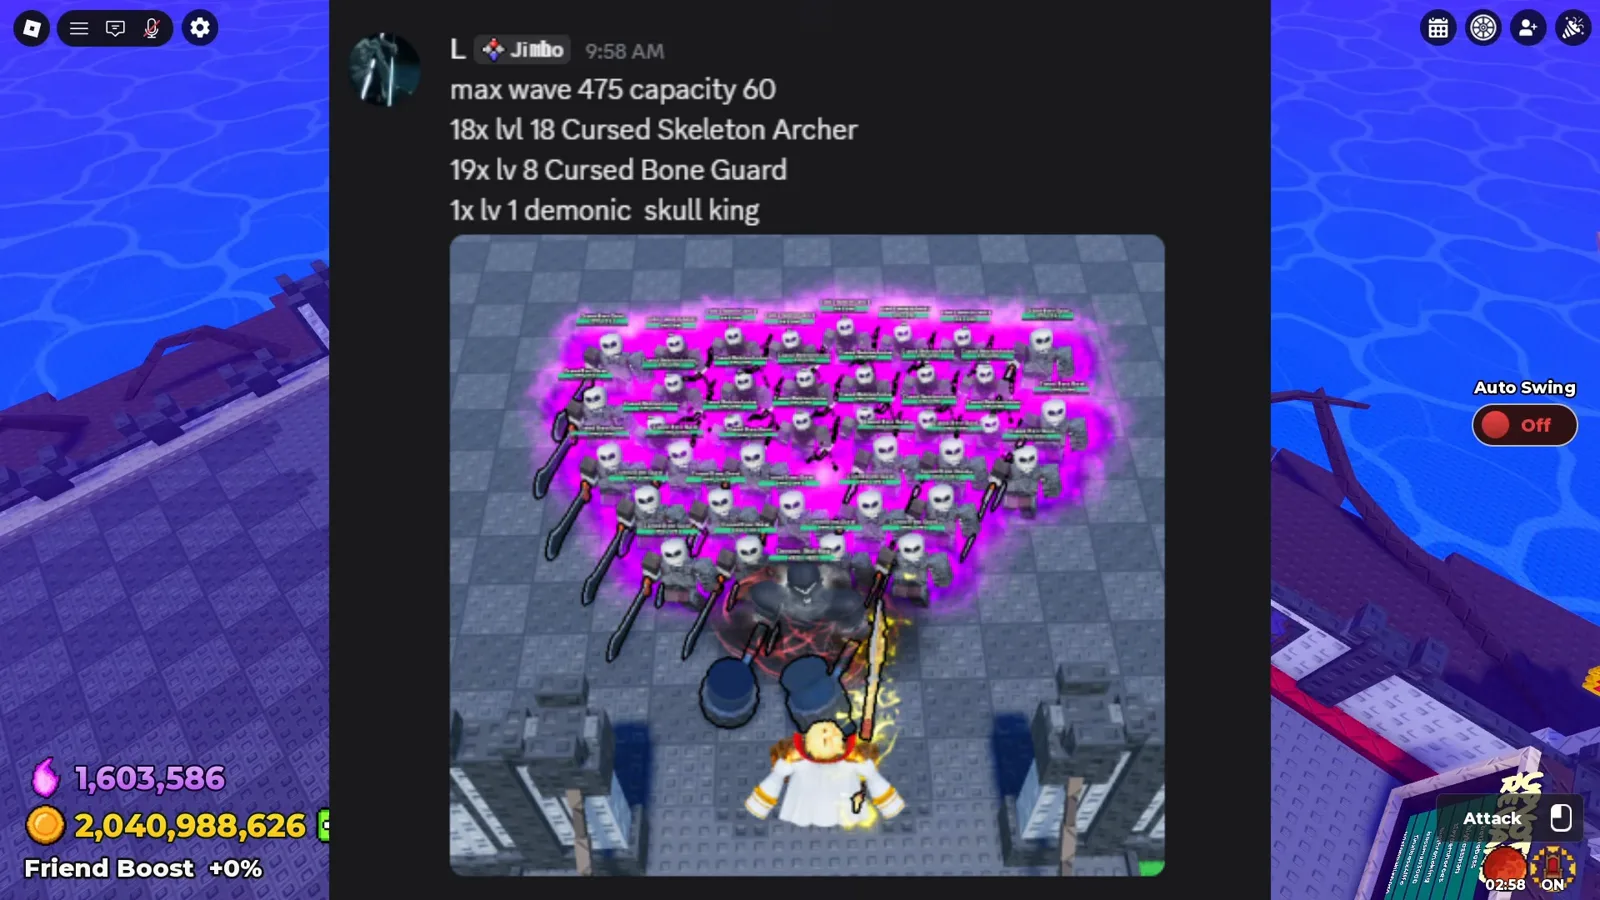
Best base layout — mid-game formation from real base reviews
Flank guards, 8-9-tile archer depth, shard priorities and the wave 1500 case, from KingGoose's viewer base reviews.
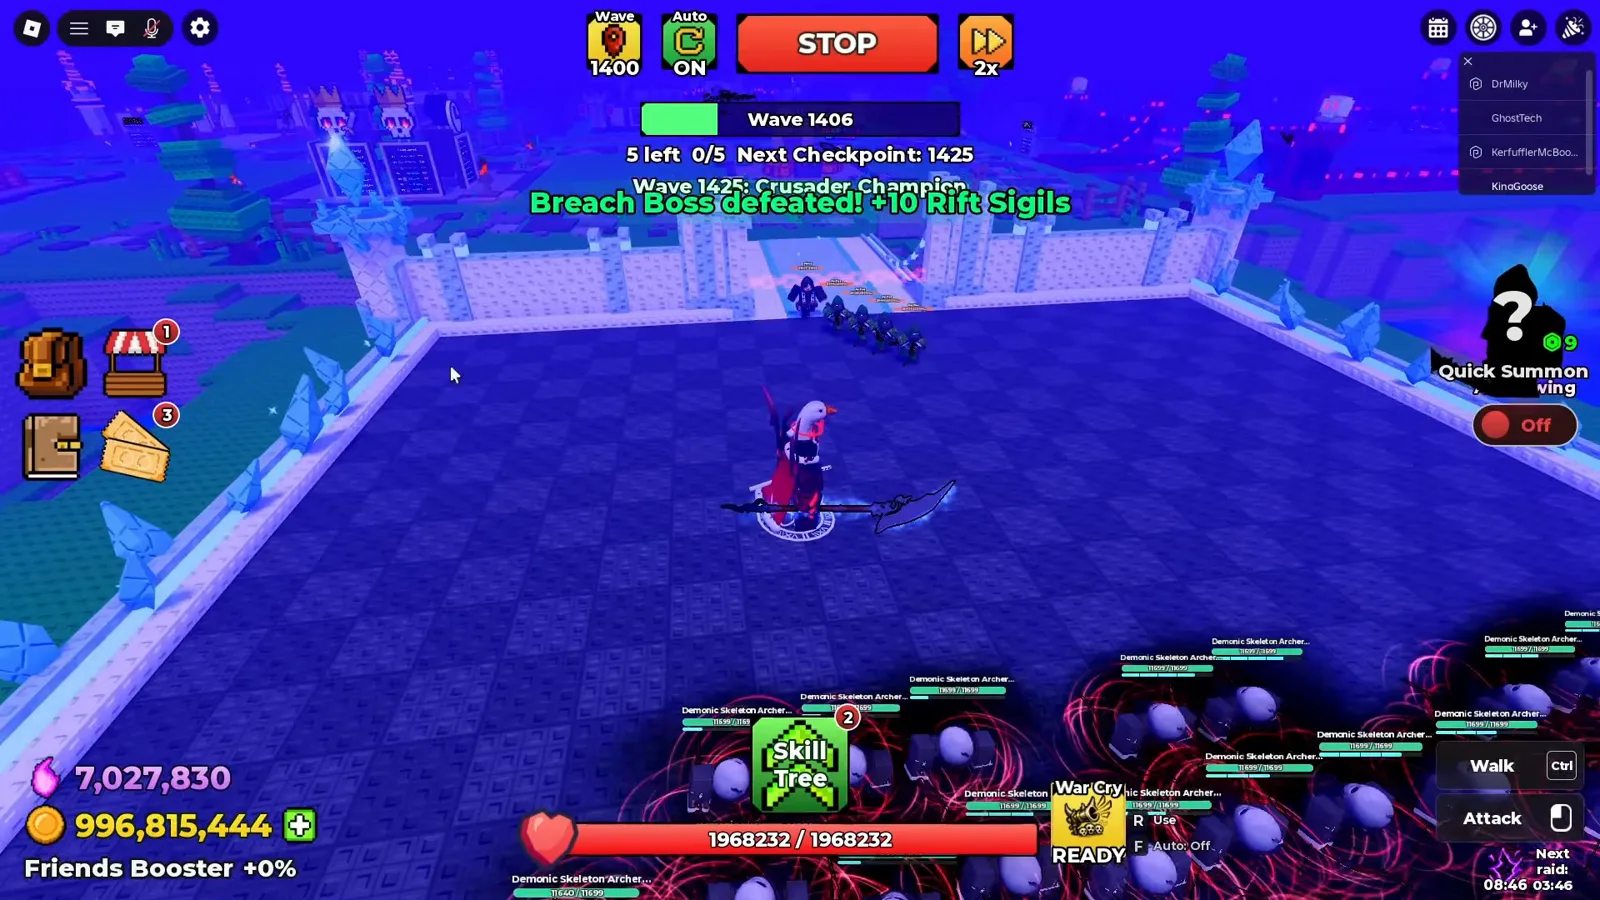
Abyssal Breach Event
Fifth-wave breach bosses, Rift Sigils farming, the 50-tier pass, Relic Crate pricing, and which castle skin is worth the luck — from Update 5 footage.
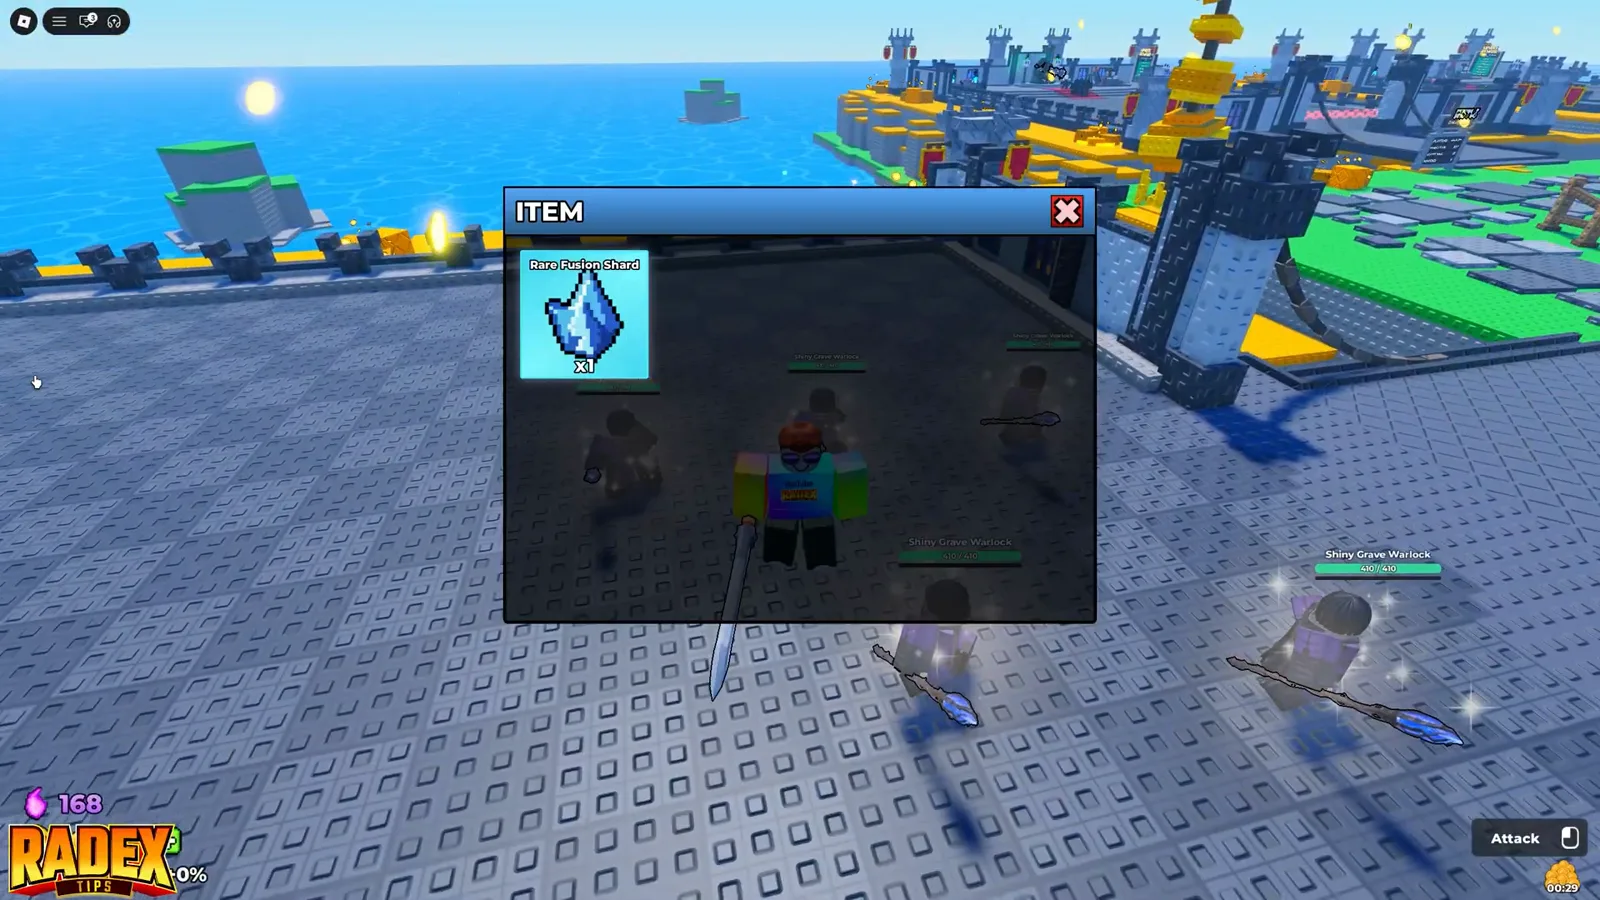
Shards Guide: How to Farm Fusion Shards Fast
A frame-checked Radex Tips walkthrough: auto-battle gate farming, spending on mutated units, tier fusion, and the skill tree multiplier — with no invented drop rates.
Core Objective: Defend the Castle
Be The Final Boss asks you to summon minions and defend your castle against waves of heroes. The official description establishes this loop, but does not publish wave counts, enemy stats, or recommended layouts.
- Summon minions to form a defending force.
- Protect the castle against incoming hero waves.
- Use the current in-game interface for wave-specific details.
Opening Route: Survive First, Snowball Later
A player-facing opening sequence, not an official formula. Each step should be tested in your next run rather than copied blindly: build a frontline that keeps heroes off the castle, concentrate Coins into permanent power instead of spreading them thin, and record which hero type breaks through so you can adjust unit roles and skill routes.
- Step 1 — Raise a frontline: deploy durable units so heroes cannot rush the castle directly.
- Step 2 — Spend Coins on permanent power: focus skill tree nodes and your main weapon instead of spreading resources.
- Step 3 — Log the breach: note which hero type breaks through, then adjust unit roles and skill routes for the next run.
Post-Run Diagnosis: Read the Defeat Before the Boss Name
When a run fails, identify the first failure point instead of buying upgrades at random. Four common patterns: the frontline melts before the boss (test HP and durable units first, not more damage), usable units sit in the inventory (test Population slots), the line holds but the boss wave outlasts you (compare Unit Damage, unit levels, and weapon investment), or your own boss deals too little (test weapons and Boss Attack from a safe position).
- Frontline melts first → test HP, durable units, or early wave-clear before stacking damage.
- Units stuck in inventory → invest in Population and check whether the extra slots raise your best wave.
- Line holds but damage lacks → compare the single-run impact of Unit Damage, unit levels, and weapon upgrades.
- Your boss contributes too little → test weapons or Boss Attack from a safe position without sacrificing the frontline.
Skill Tree and Weapons
The official listing says that progressing through the skill tree unlocks weapons. It does not identify individual nodes, weapon names, costs, or unlock order, so check the in-game tree before committing resources.
- Advance the skill tree to unlock weapons.
- Treat the in-game tree as the source for current requirements.
- Avoid relying on unverified build paths or cost tables.
Official Release Code
The official release code is betheboss, but the official description does not state its reward and public reports conflict. Redeem it via the Gear icon (top-left) → scroll to the bottom → Enter Code Here box → Redeem, then use the in-game toast as the reward record; codes are case sensitive. Reported active codes and source notes are listed on the Codes page.
- Enter betheboss exactly as shown, then verify its reward in the in-game toast.
- Codes are redeemed in Settings via the Gear icon at the top-left.
- See the Codes page for every active code and its source note.
What Update 1 Confirmed
Update 1 added three units, the Demonic mutation, Gold Rush, Shard Storm, Cursed Moon, and the Unit Index. The announcement does not name the three units or document event rewards, mutation effects, or Unit Index fields.
- Three units were added, without official names in the supplied source.
- Demonic mutation and three named events were introduced.
- The Unit Index was added as a reference feature.
Guides FAQ
What is the fastest way to get Coins?
Front spawn-kill placement clears waves faster than back-line formations. See the Get Coins Fast guide for screenshots and the AFK Farm Setup guide for the full layout.
What is the best AFK setup?
Stack melee and ranged minions at the enemy spawn entrance, enable Auto Roll, and sit on the throne for Throne Power income. The AFK Farm Setup guide walks through each step with screenshots.
How do I roll Demonic mutations?
Save Souls for Cursed Moon when mutation odds double, then batch rolls at the Summon Altar. The Mutations Roll guide explains Shiny vs Cursed vs Demonic and when to spend.
What units should I invest in first?
Mighty Orc is the safest long-term pick. See the Best Units & Team guide and the Tier List for ranked options with observed stats.